How to make a molded case in vegetable leather

The main stages of making a molded vegetable leather sheath for a fixed knife. Produced in collaboration with Philippe Chabanon - Maison Berthier. Hosted in Benoît Maguin's workshop.
In the year 2023, I'd like to share with you the little secrets and tips of the cutlers we're lucky enough to count among our customers and friends. To highlight our new partnership with SOVOS, visit our blog to learn more about this company and leather in general. We produced this modest guide in the workshop of Benoît Maguin, a knifemaker we've known for many years, whose reputation is well established and who organizes a show near Le Puy-en-Velay (43), "Lames en table". Philippe Chabanon, who makes cases for Berthier, kindly agreed to answer our questions and help us produce this guide.
There are as many ways to make a knife case as there are knifemakers, and we don't pretend to be experts, or that this guide is exhaustive. The aim of this guide is to inspire you to make your first sheath, and you'll need to make several before you achieve a satisfactory result. As the saying goes, "c'est en forgeant qu'on devient forgeron" ("practice makes perfect").
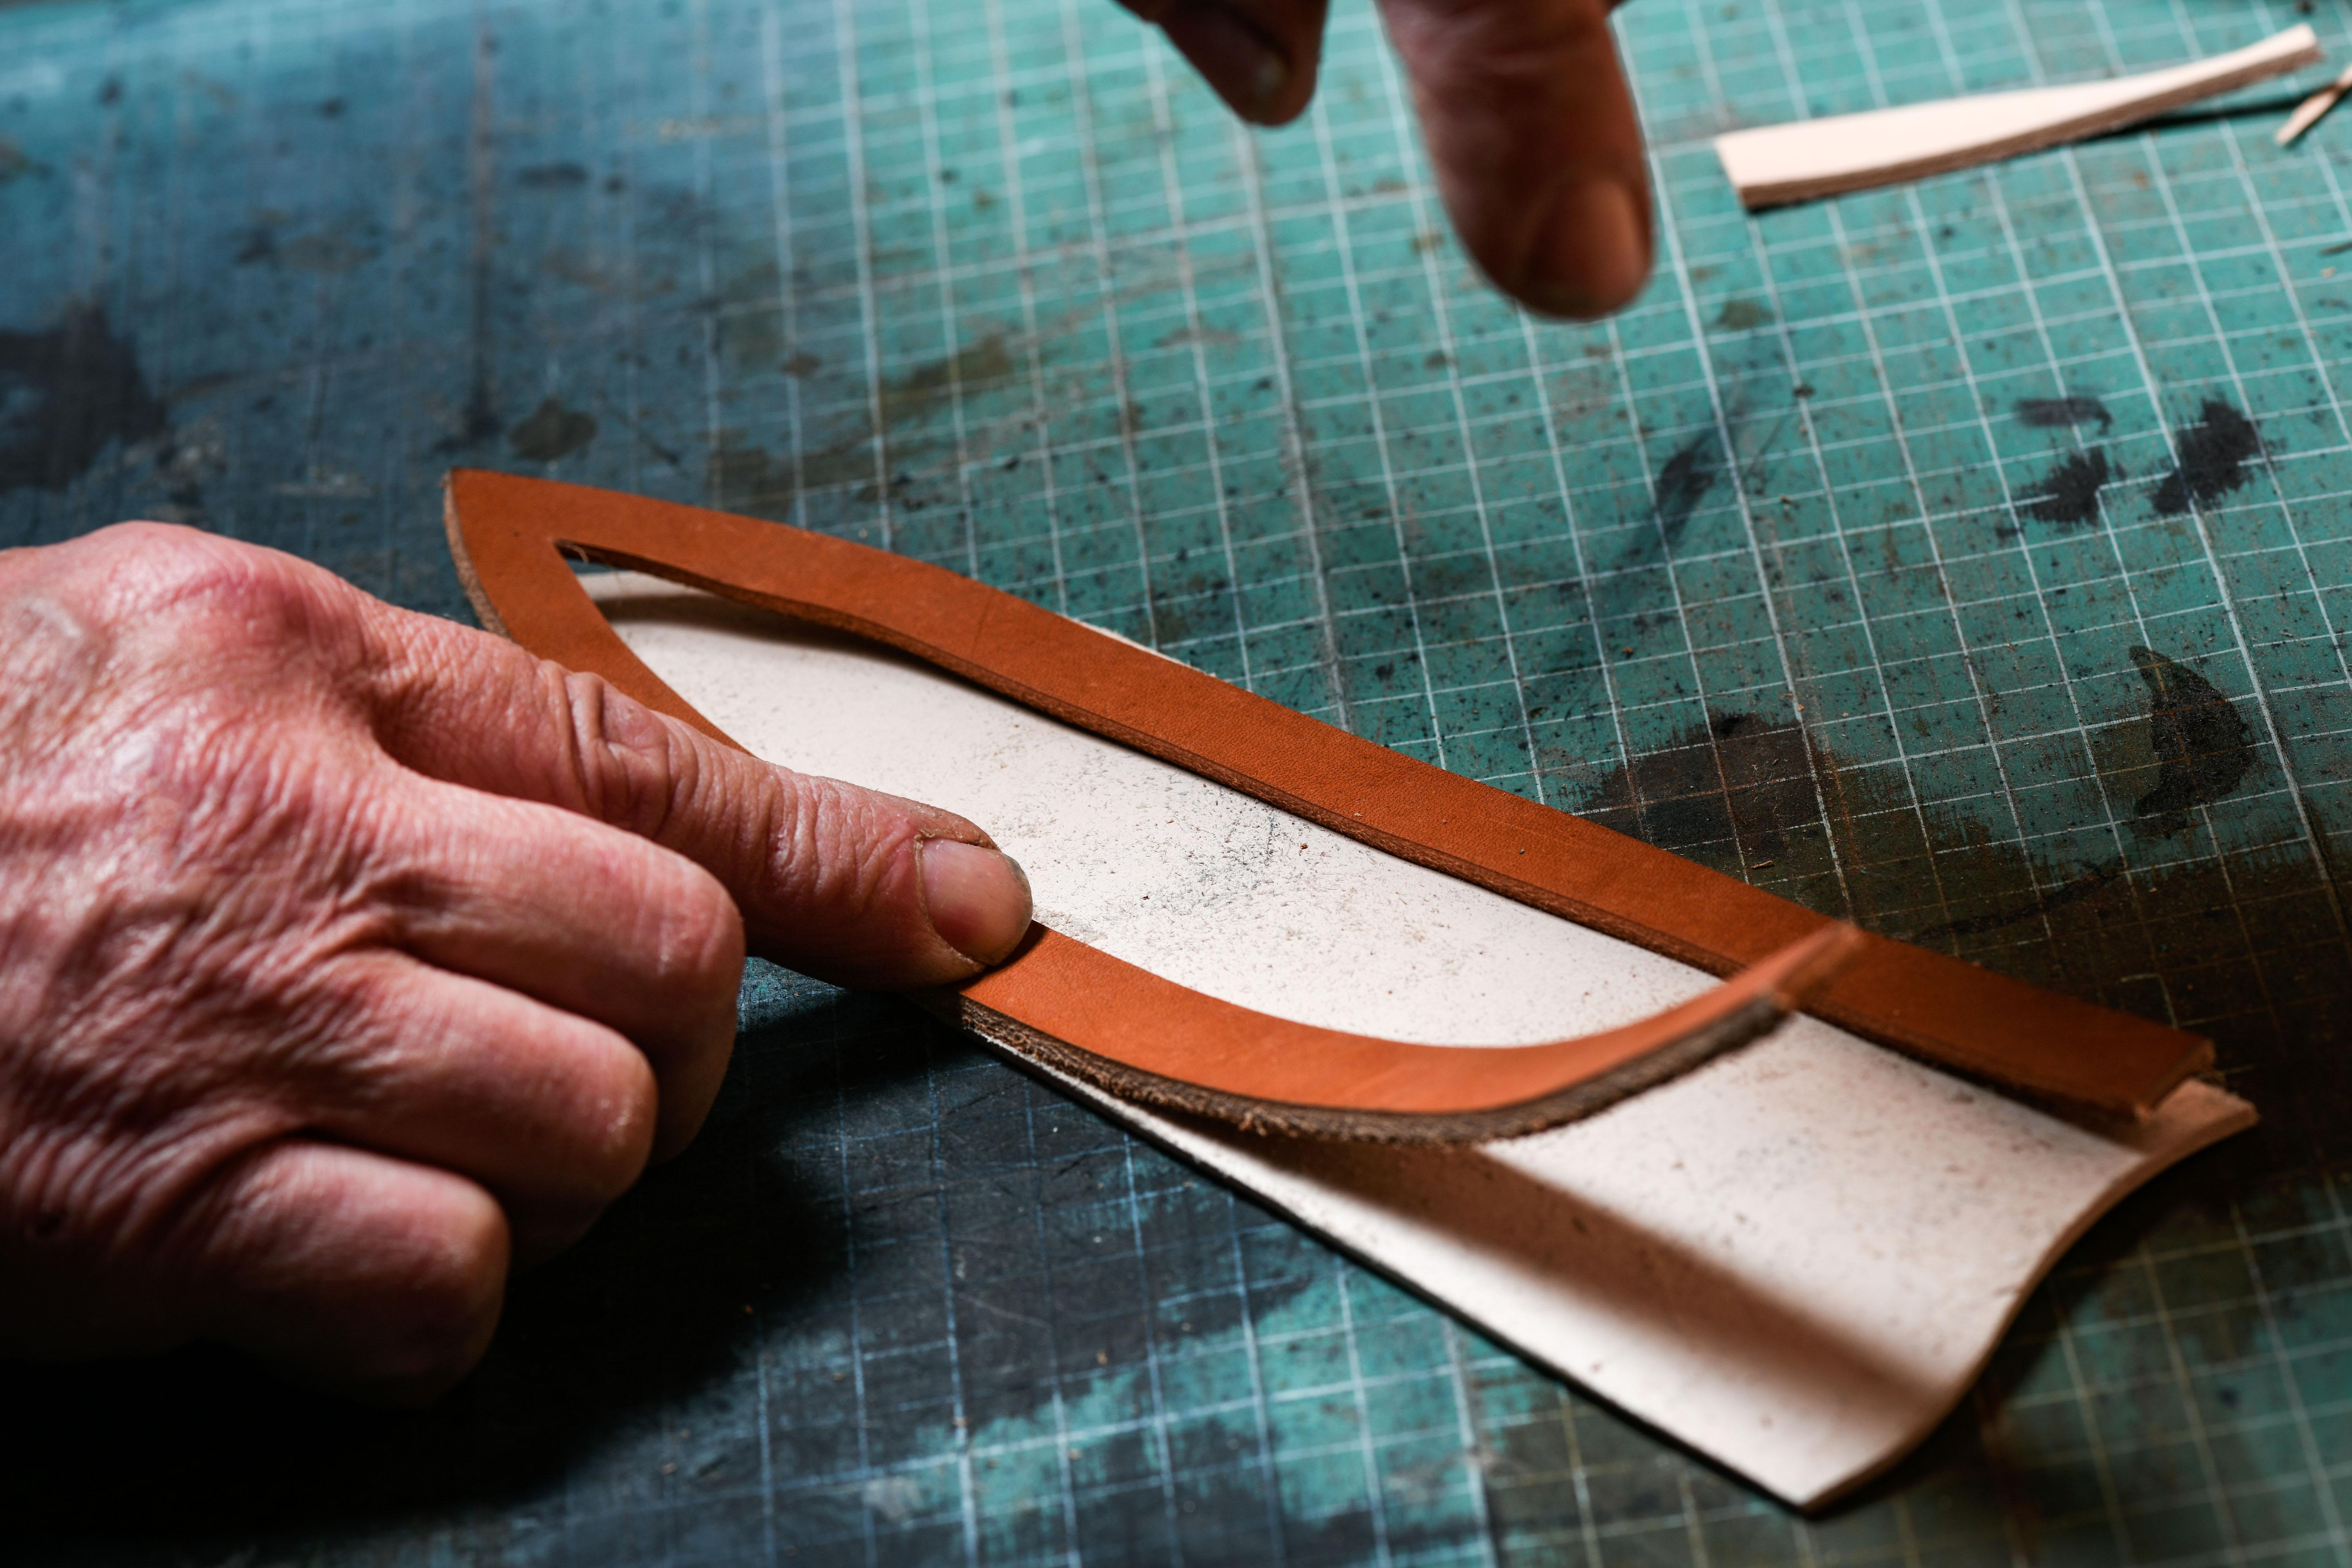
Step 1: Pattern tracing and cutting
The model we are presenting has four parts:
- Left side = largest visible piece of leather
- Right side
- Martyr = the piece that will be sandwiched and in contact with the edge of the blade
- Loop = for hanging on your belt
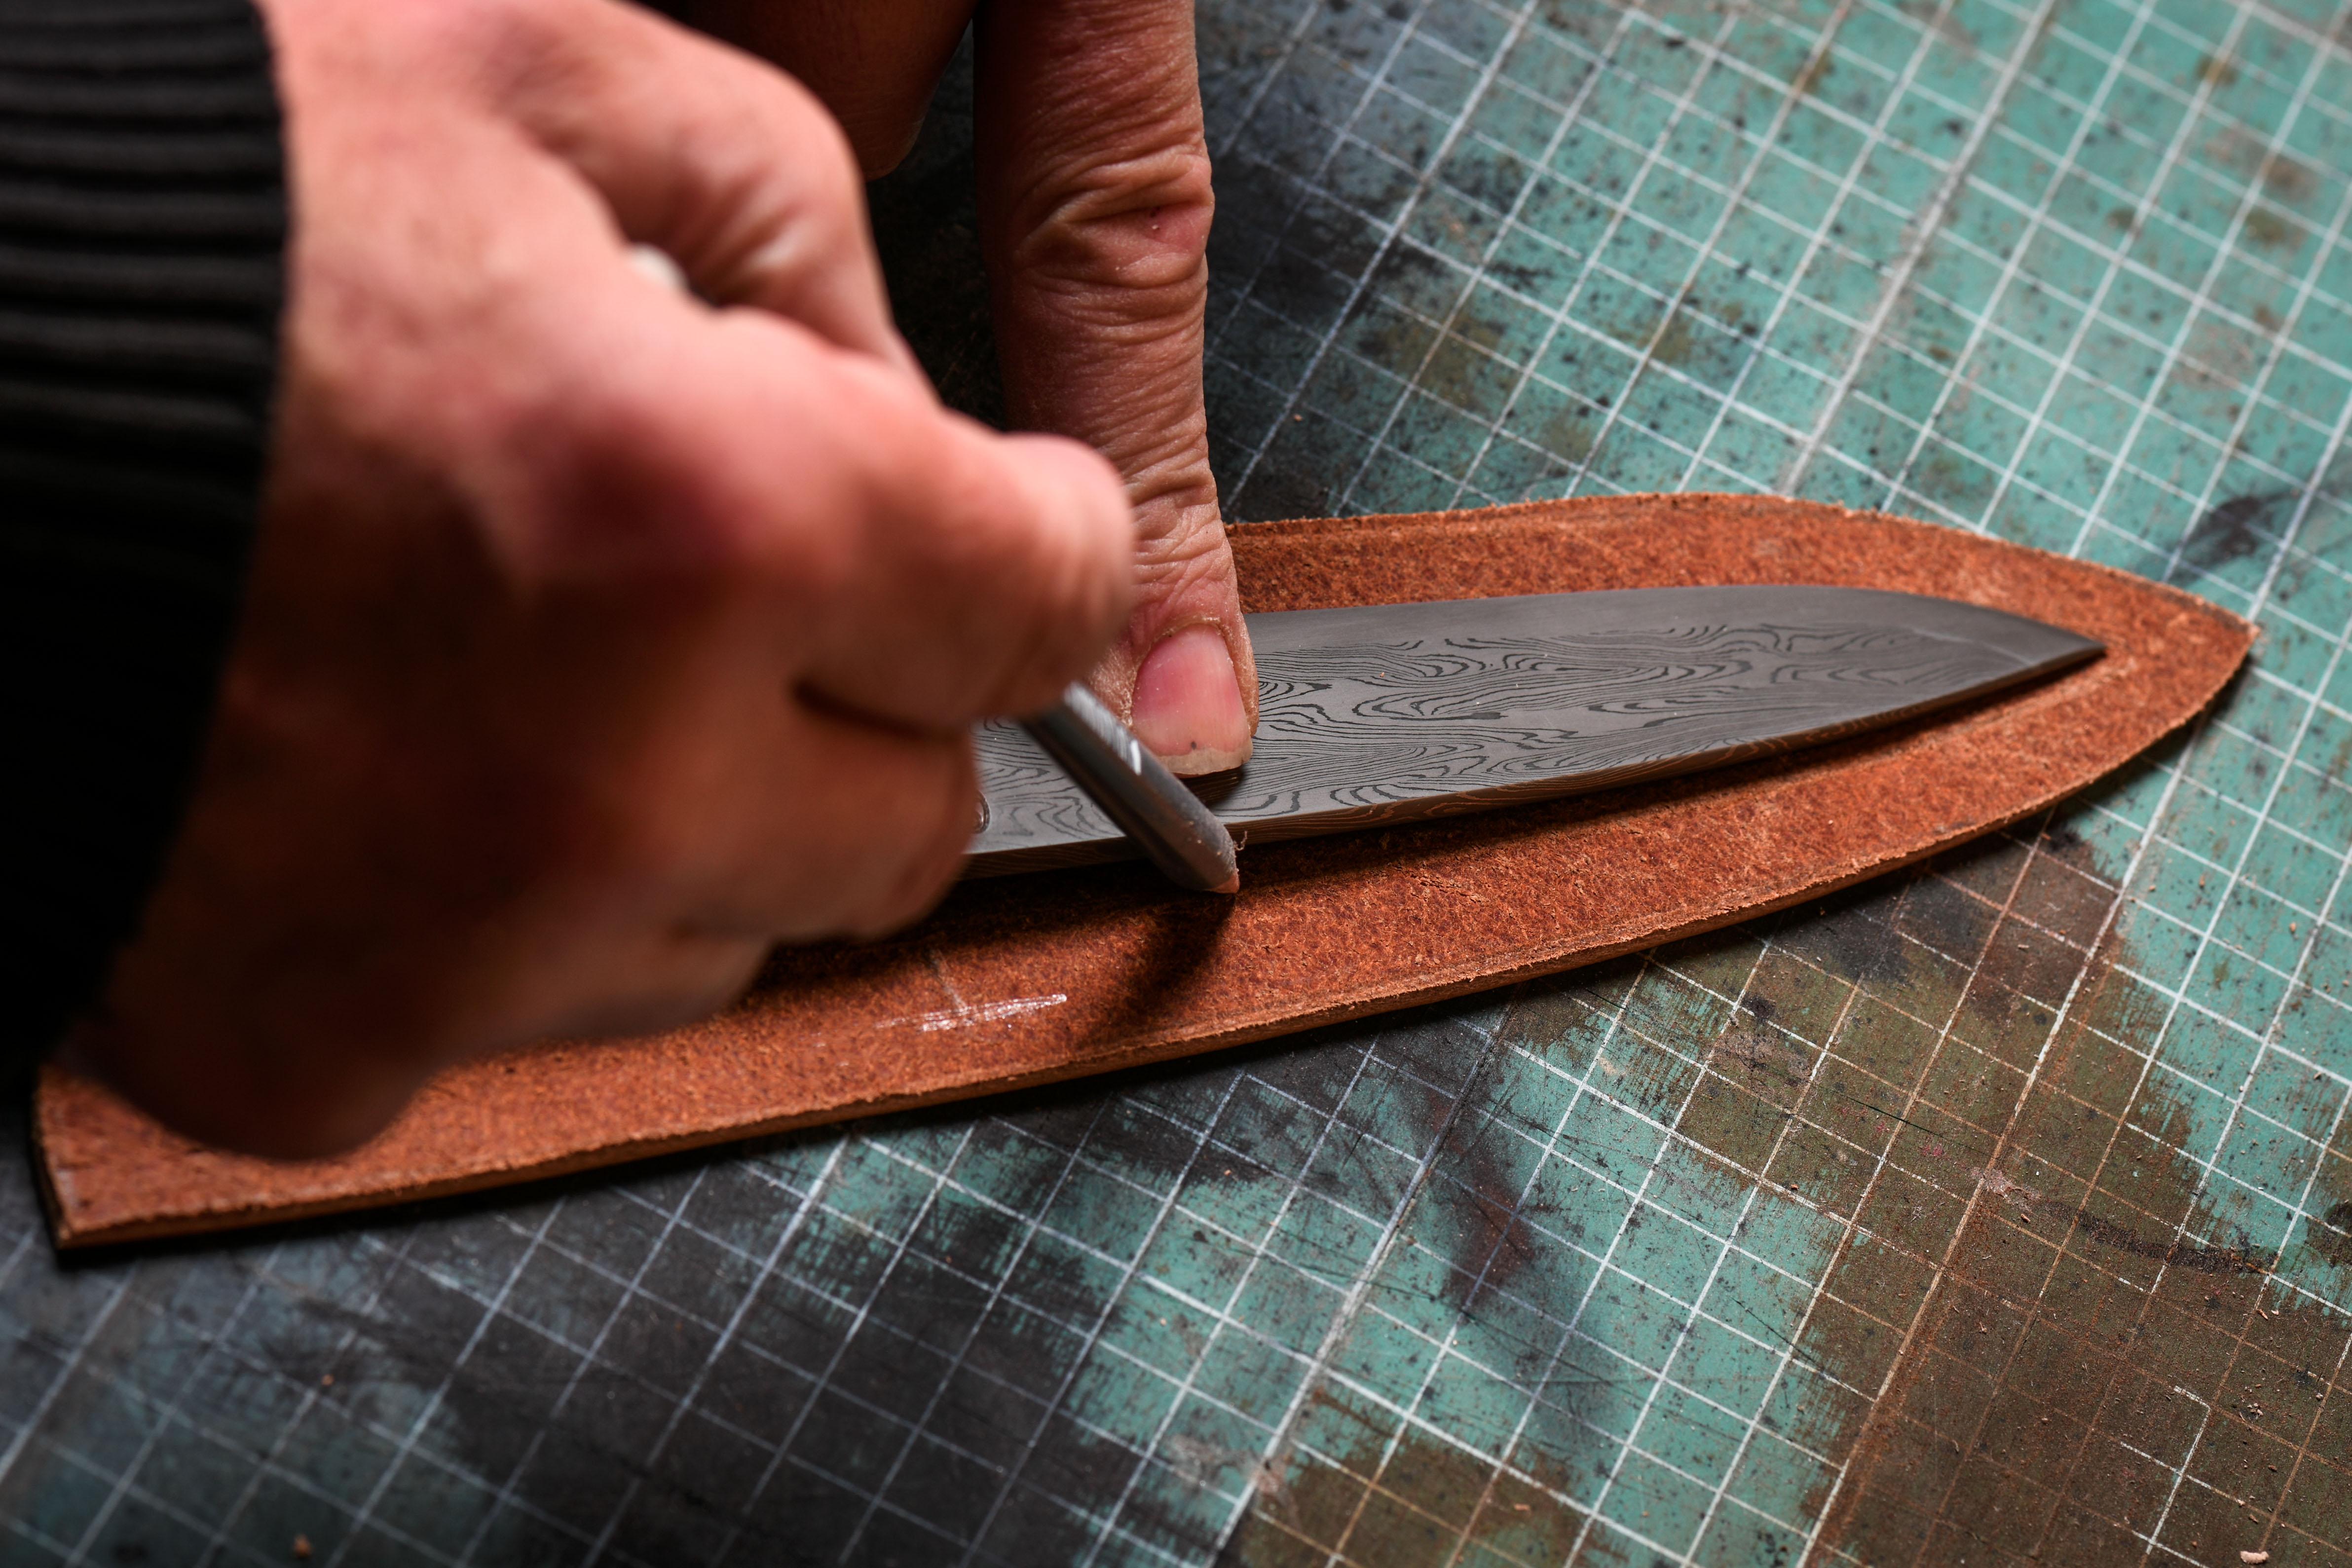
Place your knife on the leather and with a grey pencil (tip: use a silver pen, it's more effective). Trace the outline of your knife. Stay close to the blade, and leave a little margin on the handle.
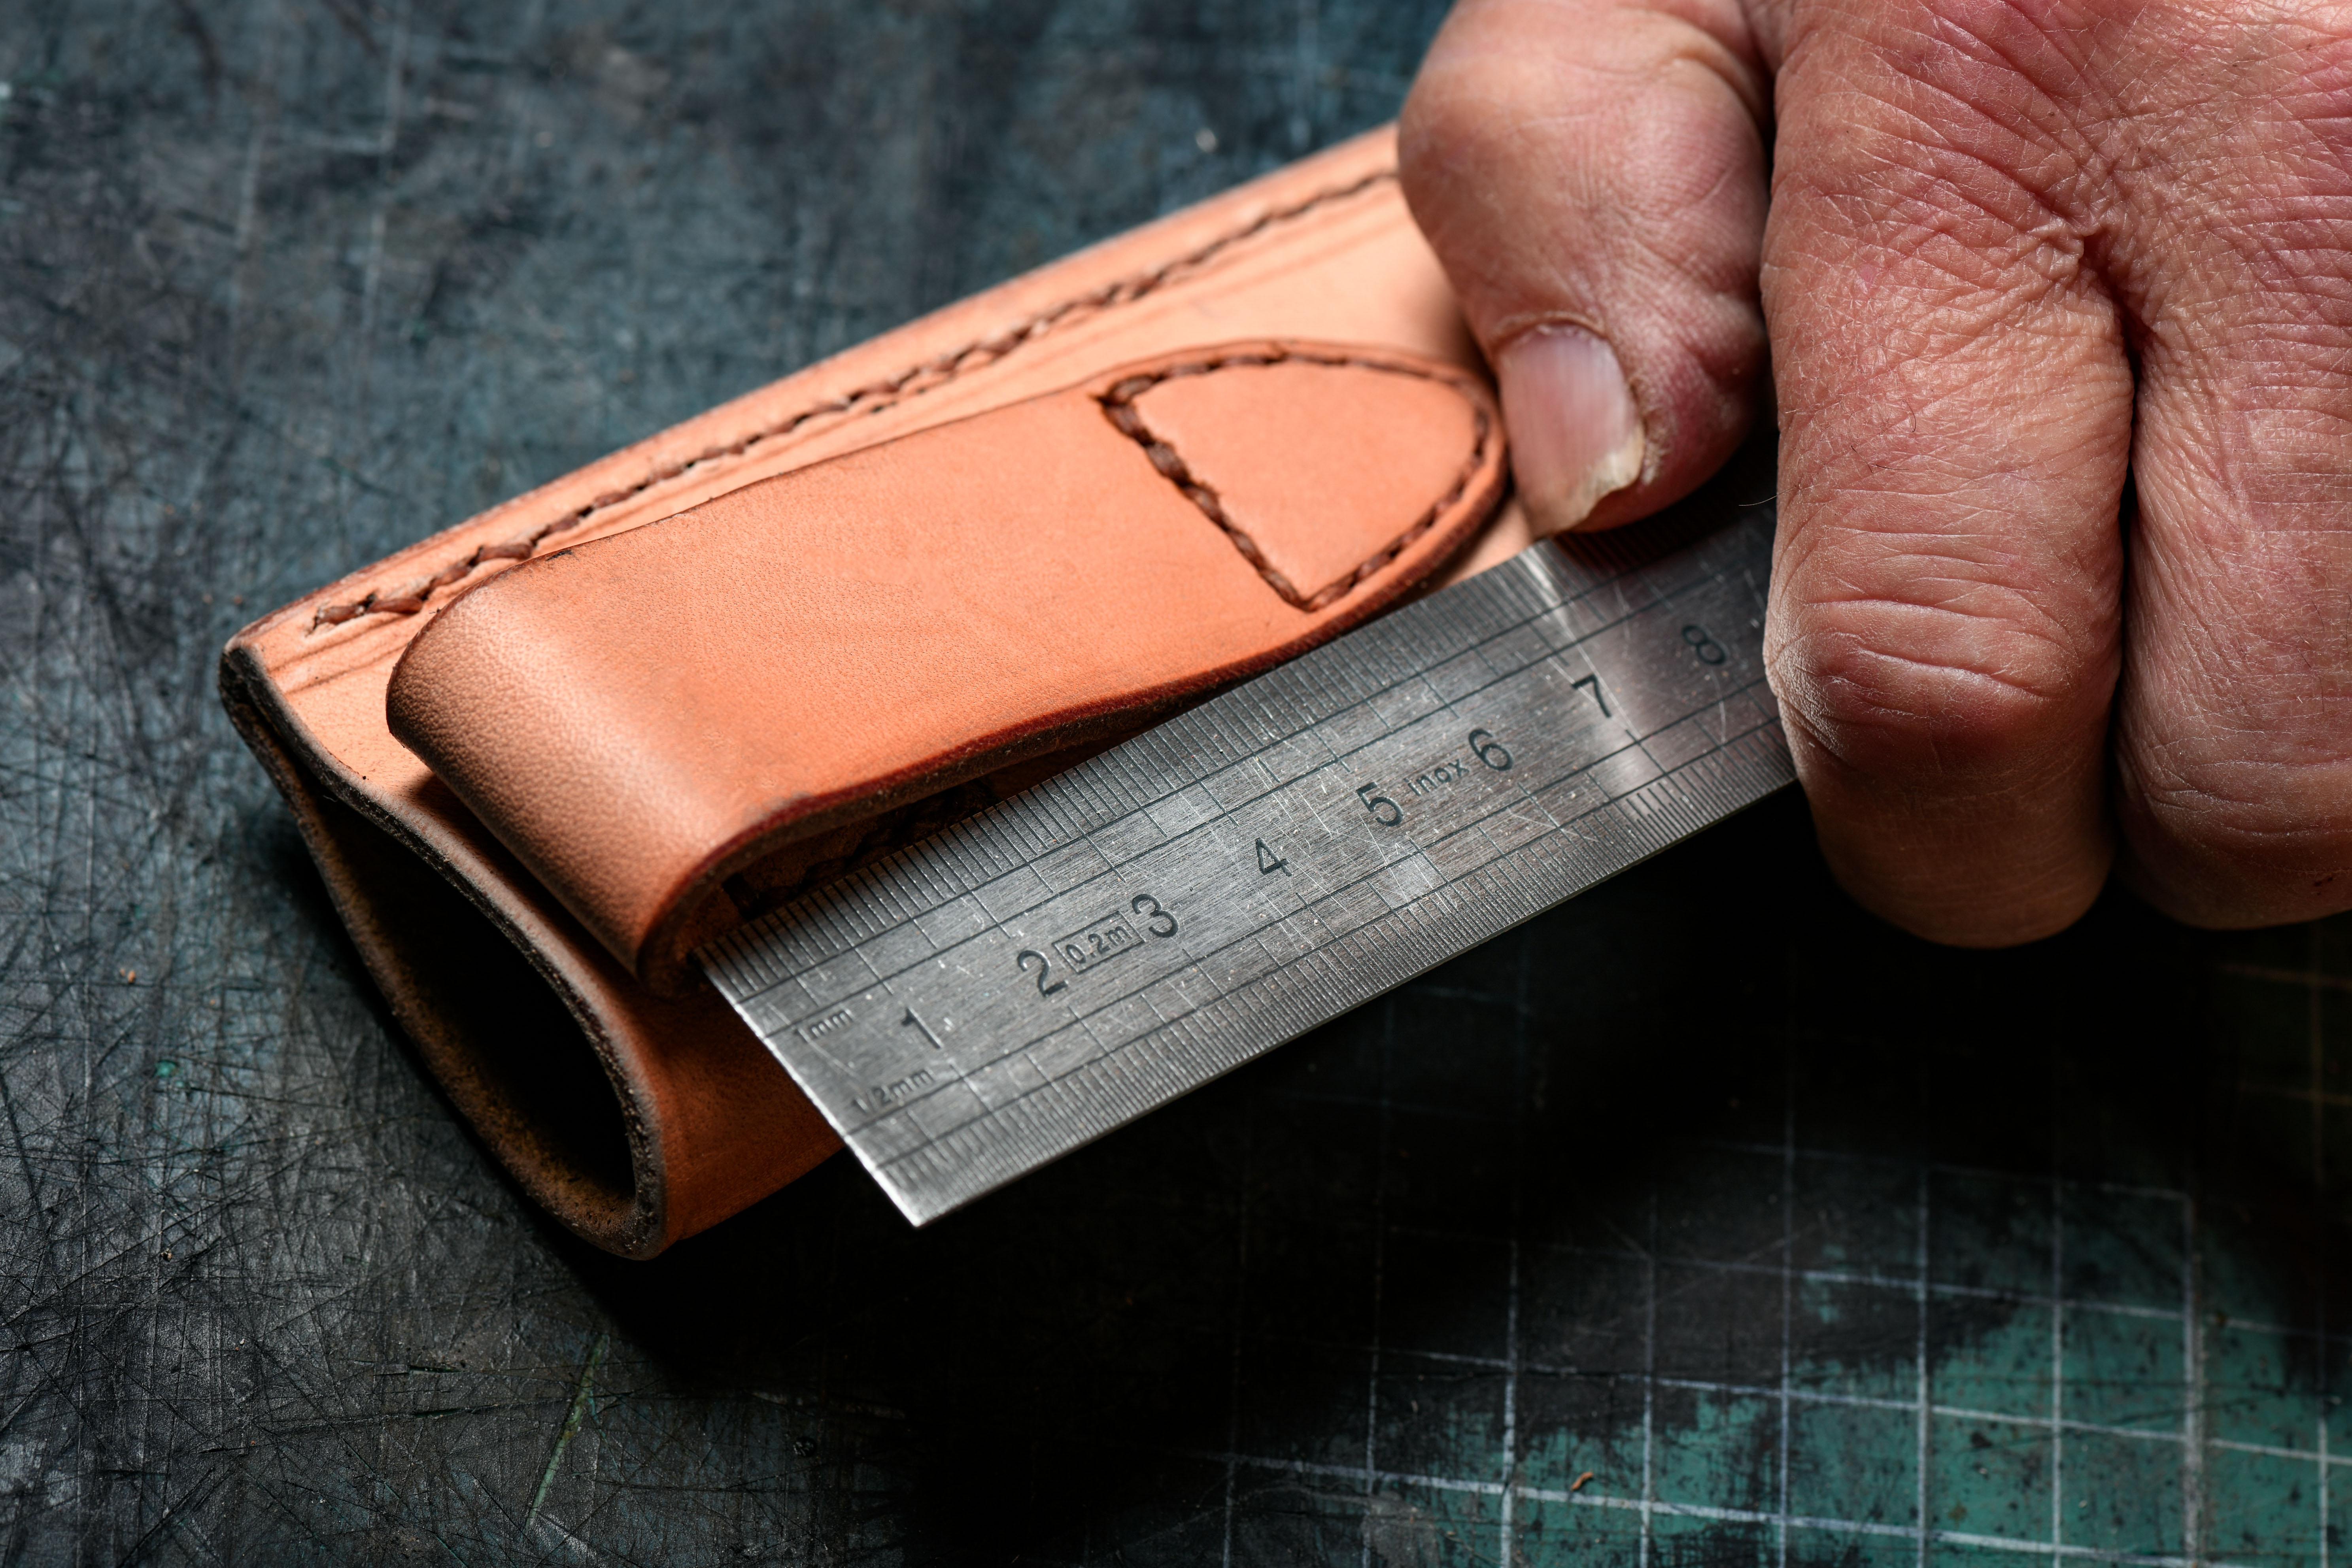
For the martyr: keep 10 to 12 mm outside the knife's contour to leave enough margin for sewing afterwards.
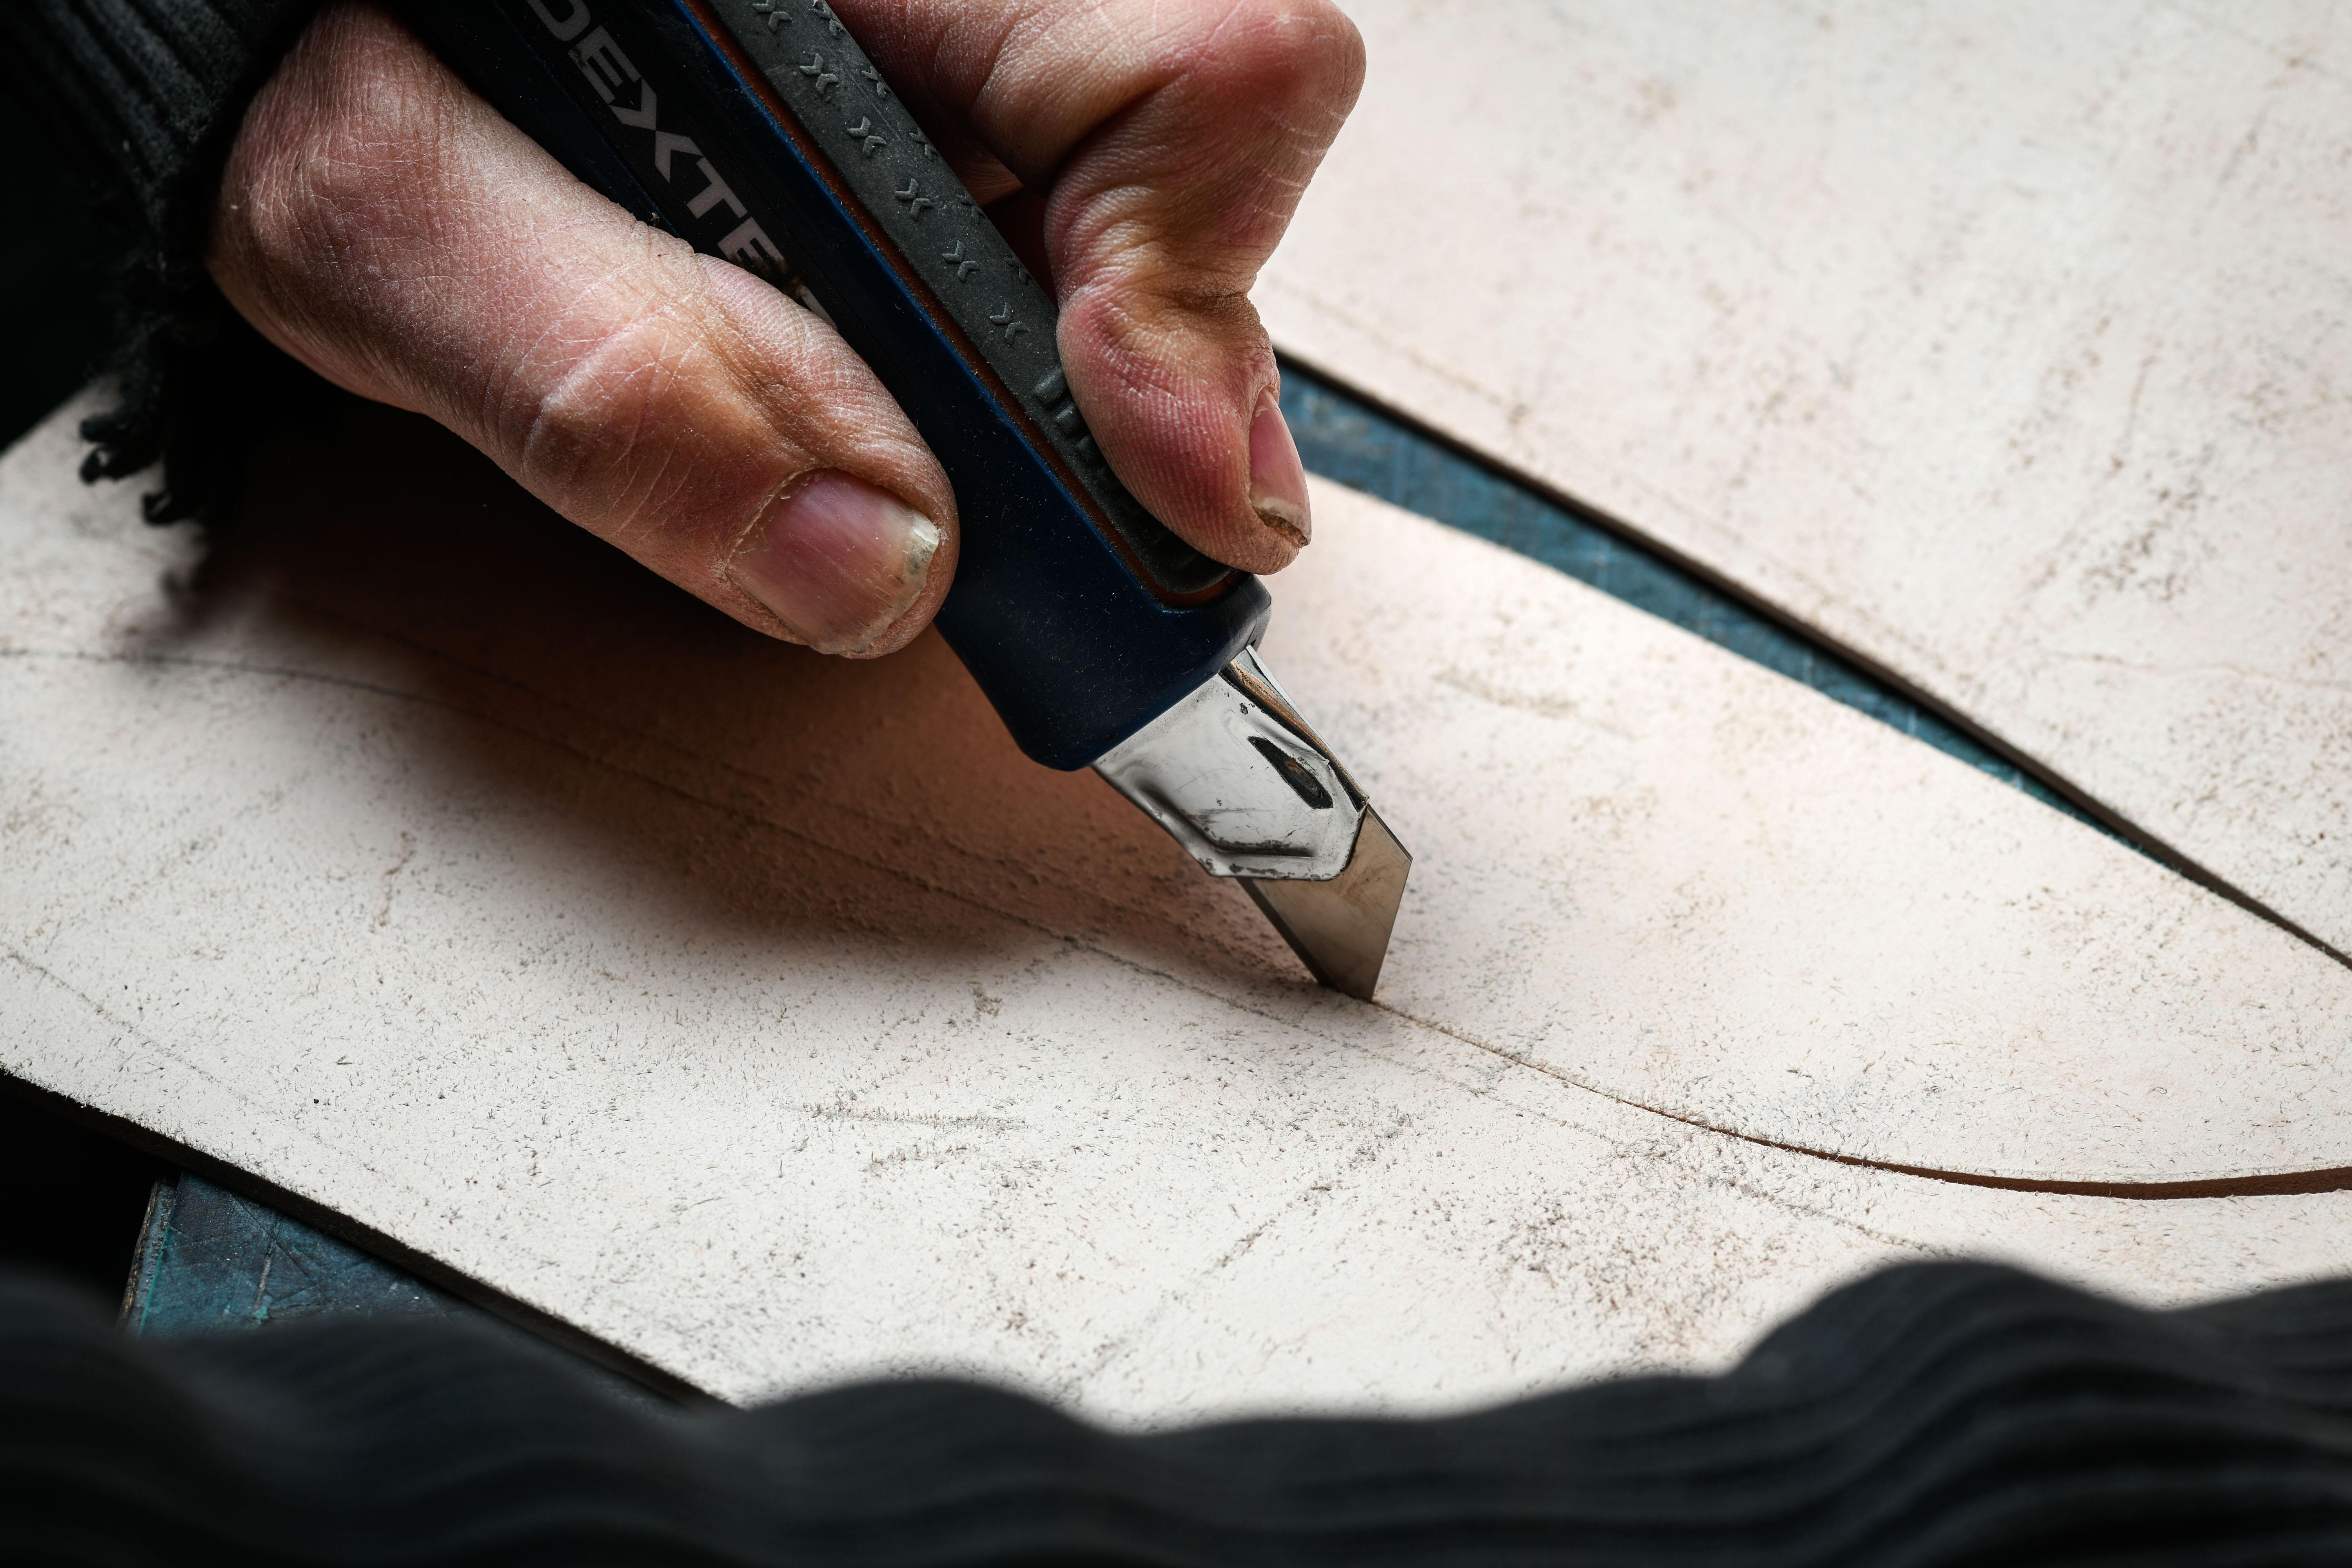
Cut out your martyr with a cutter.
Step 2: Sewing the loop
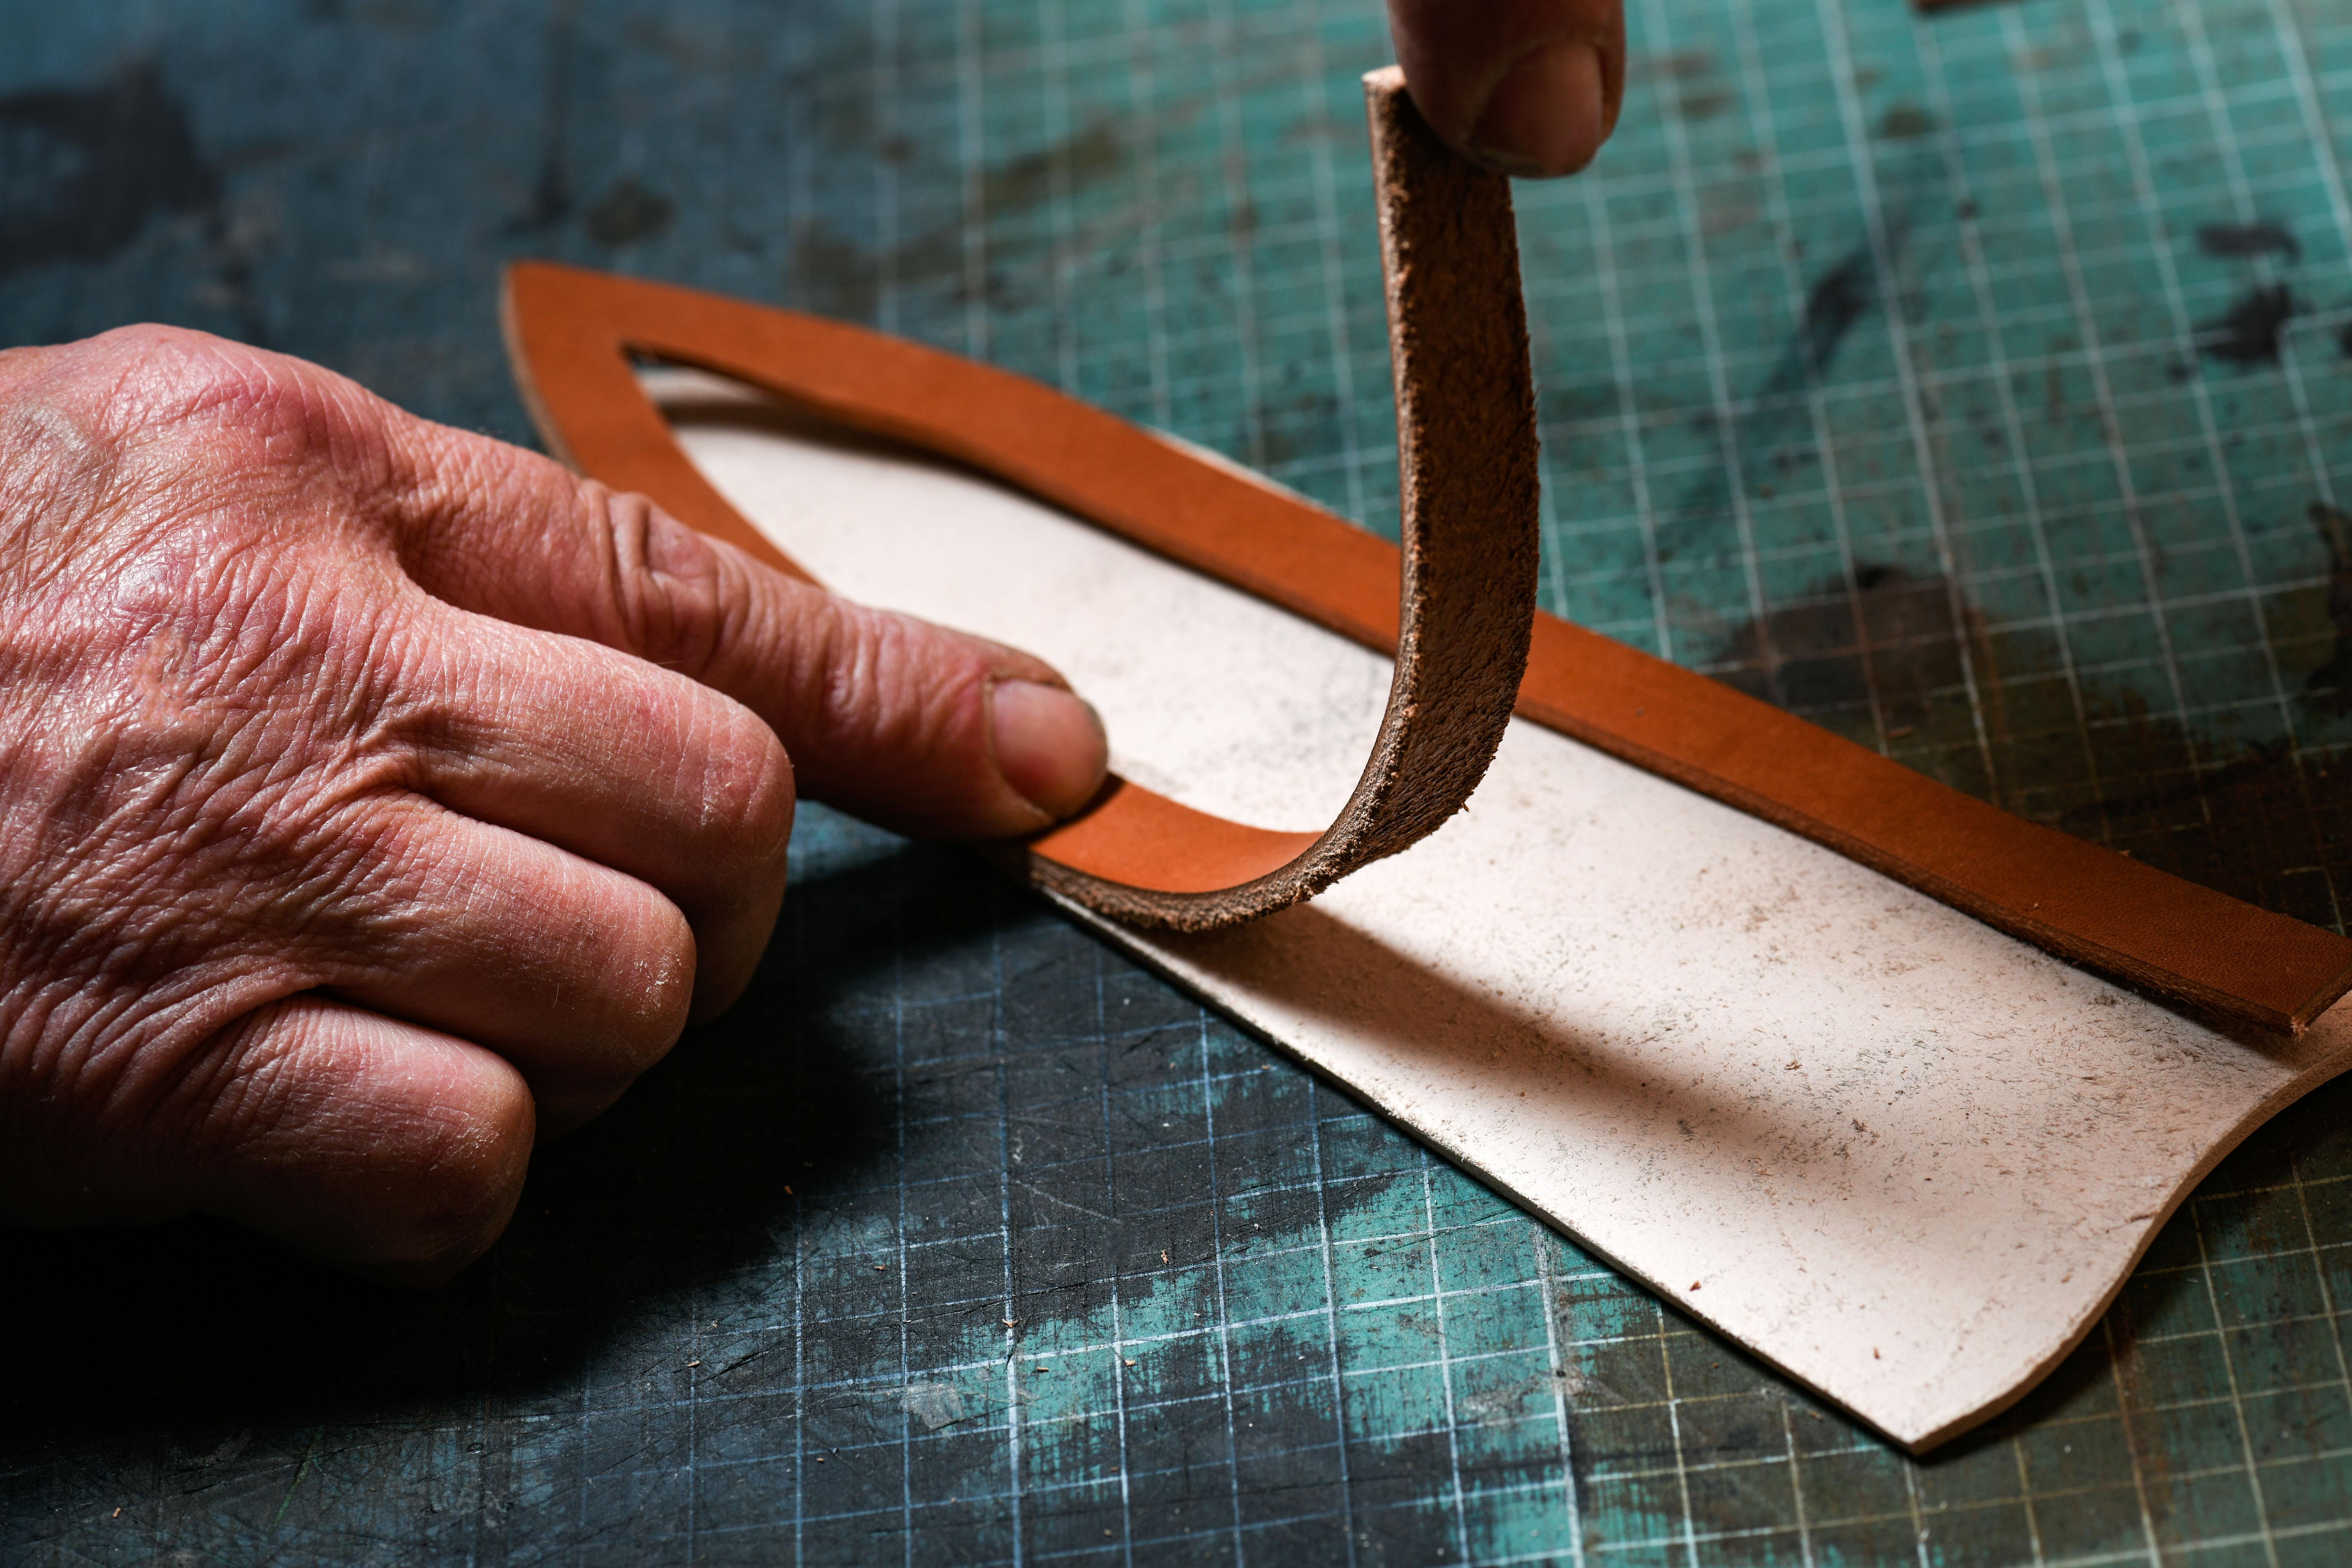
We recommend that you first glue the martyr to the side where you are going to sew the loop, to help you position it optimally.
First glue the "lower" part of the loop, then after sewing, glue the upper part, making a loop to let your belt pass through.
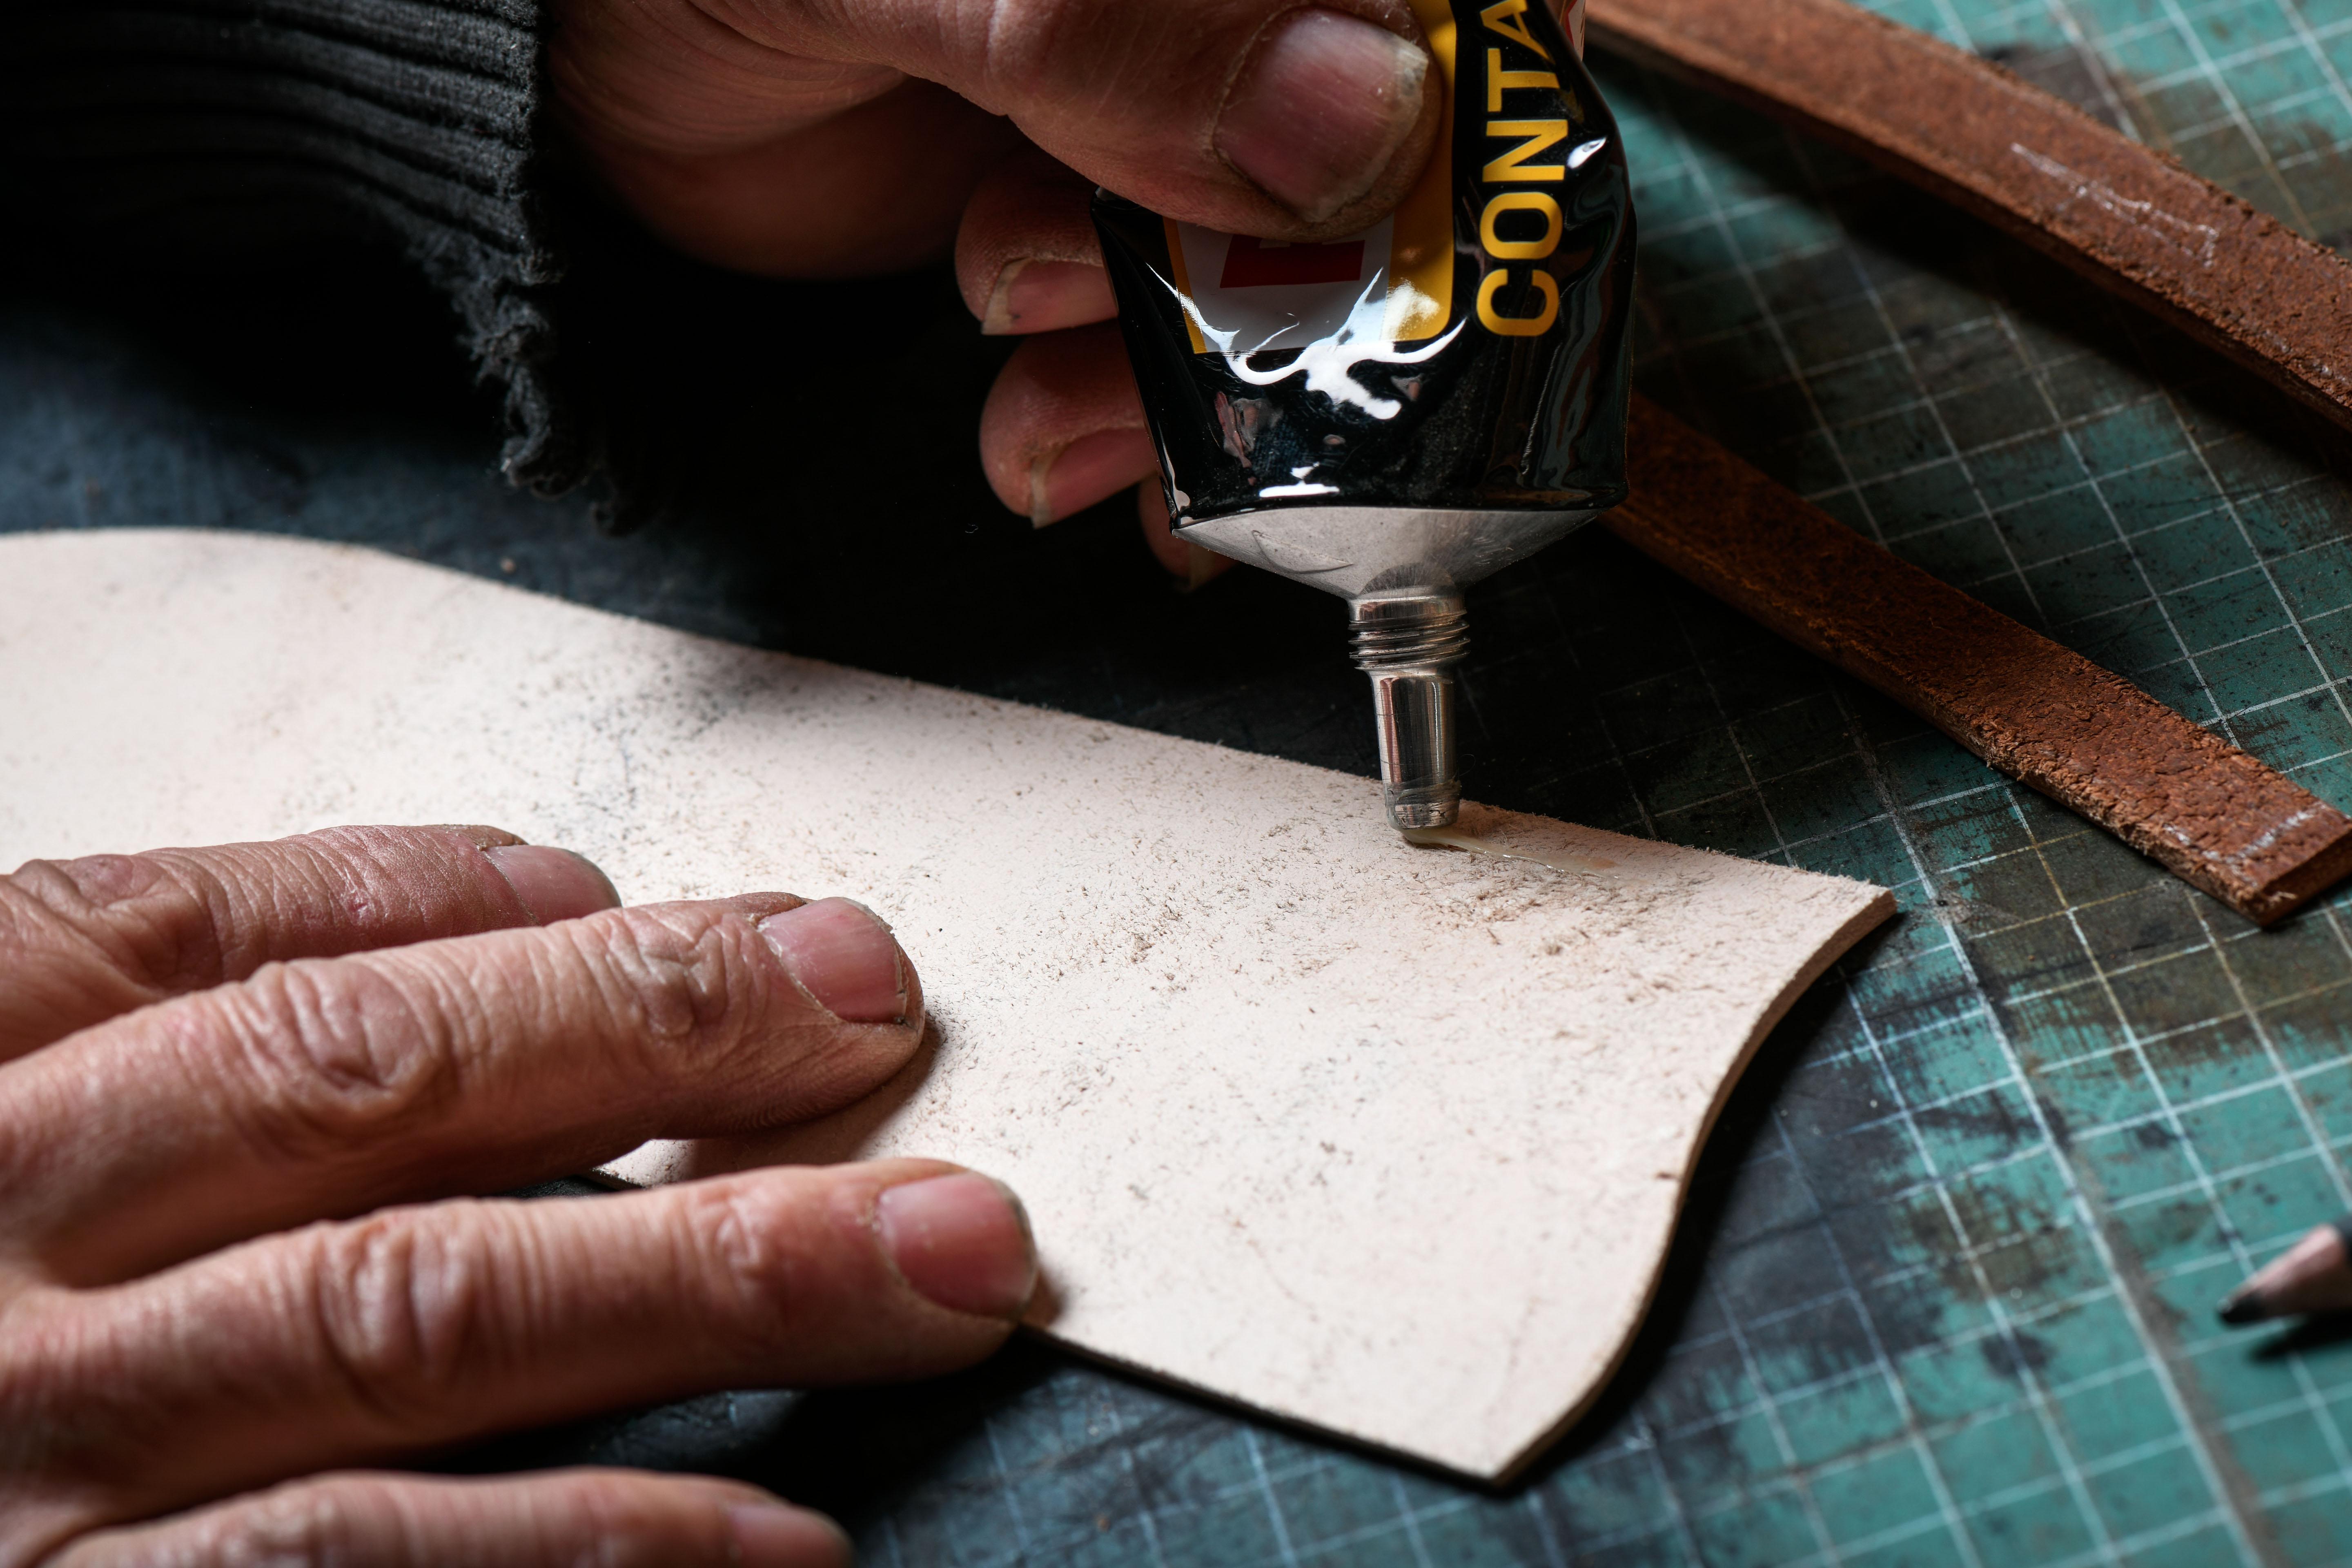
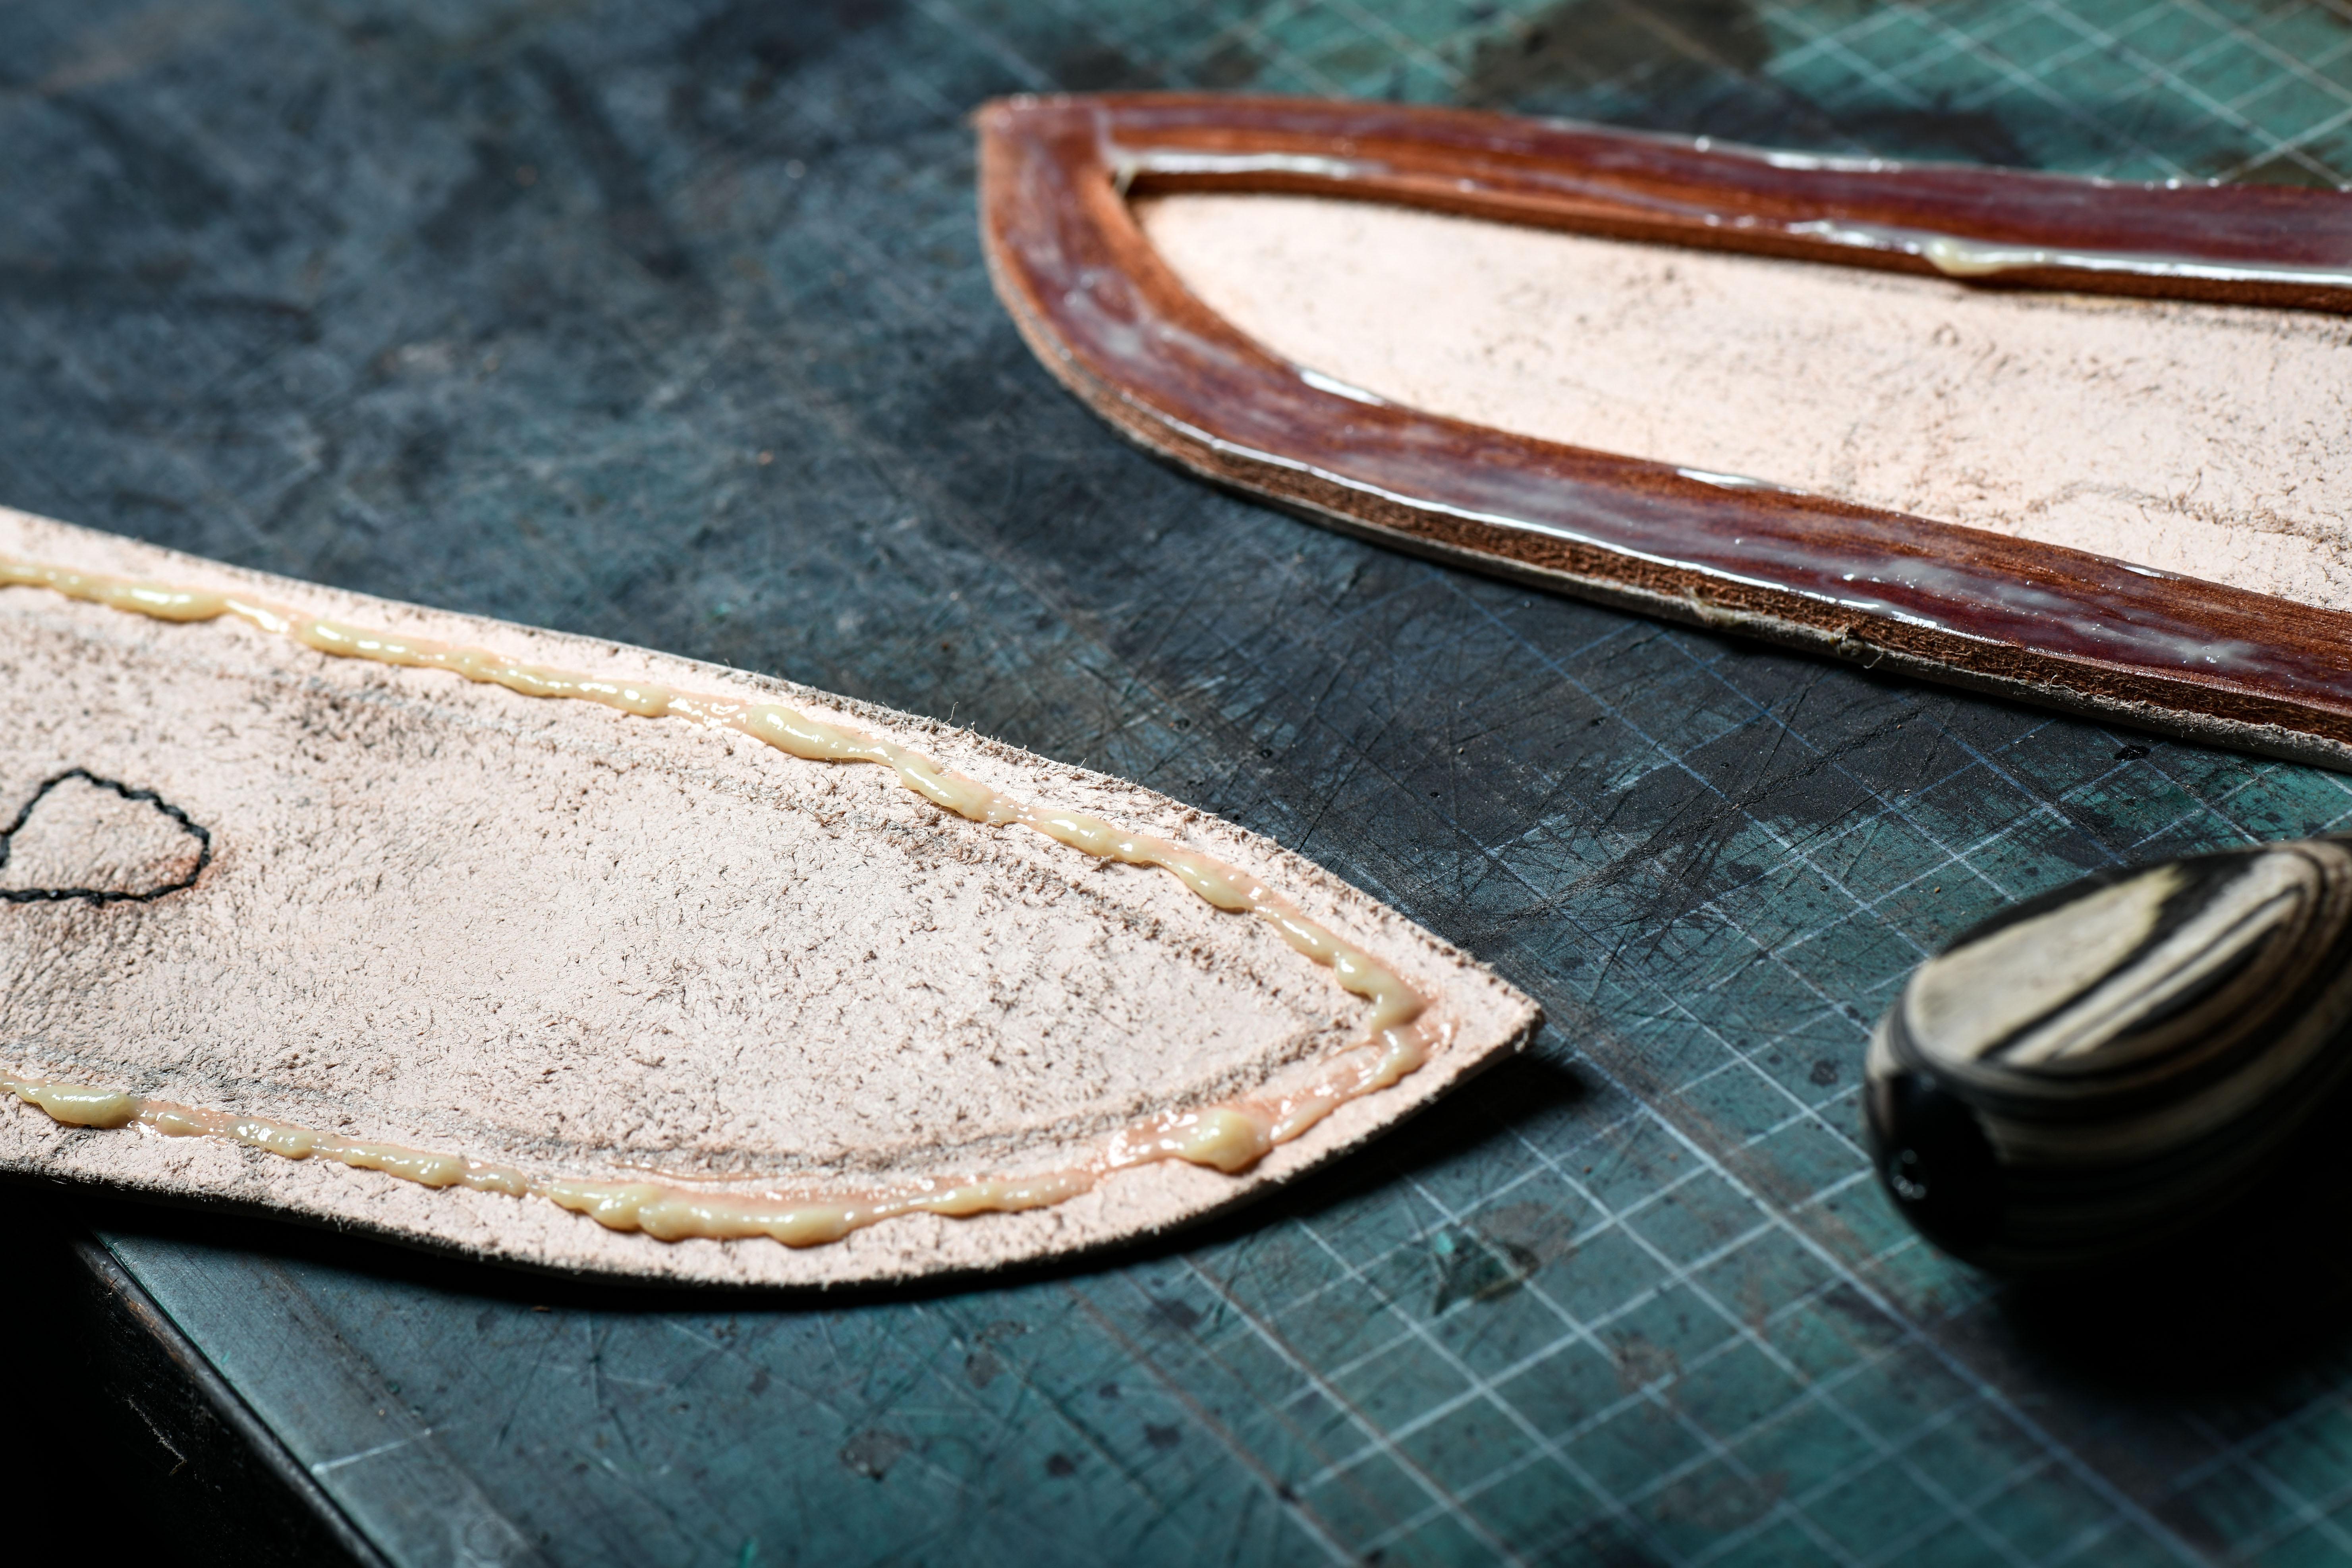
Remember to "scratch" the smooth side of the leather with your cutter or coarse sandpaper, otherwise the glue won't set. You'll need contact glue (we used neoprene glue). Apply glue to the martyr and the right or left side, as you prefer. Wait 30 minutes and glue the two parts together (you'll need to wait for the glue to dry a little).
Grooving: Ideally, you'll need a "groove" to make a line or holes and pass your wire through. This also allows you to "drown" the wire so that it doesn't protrude and wears less over time.
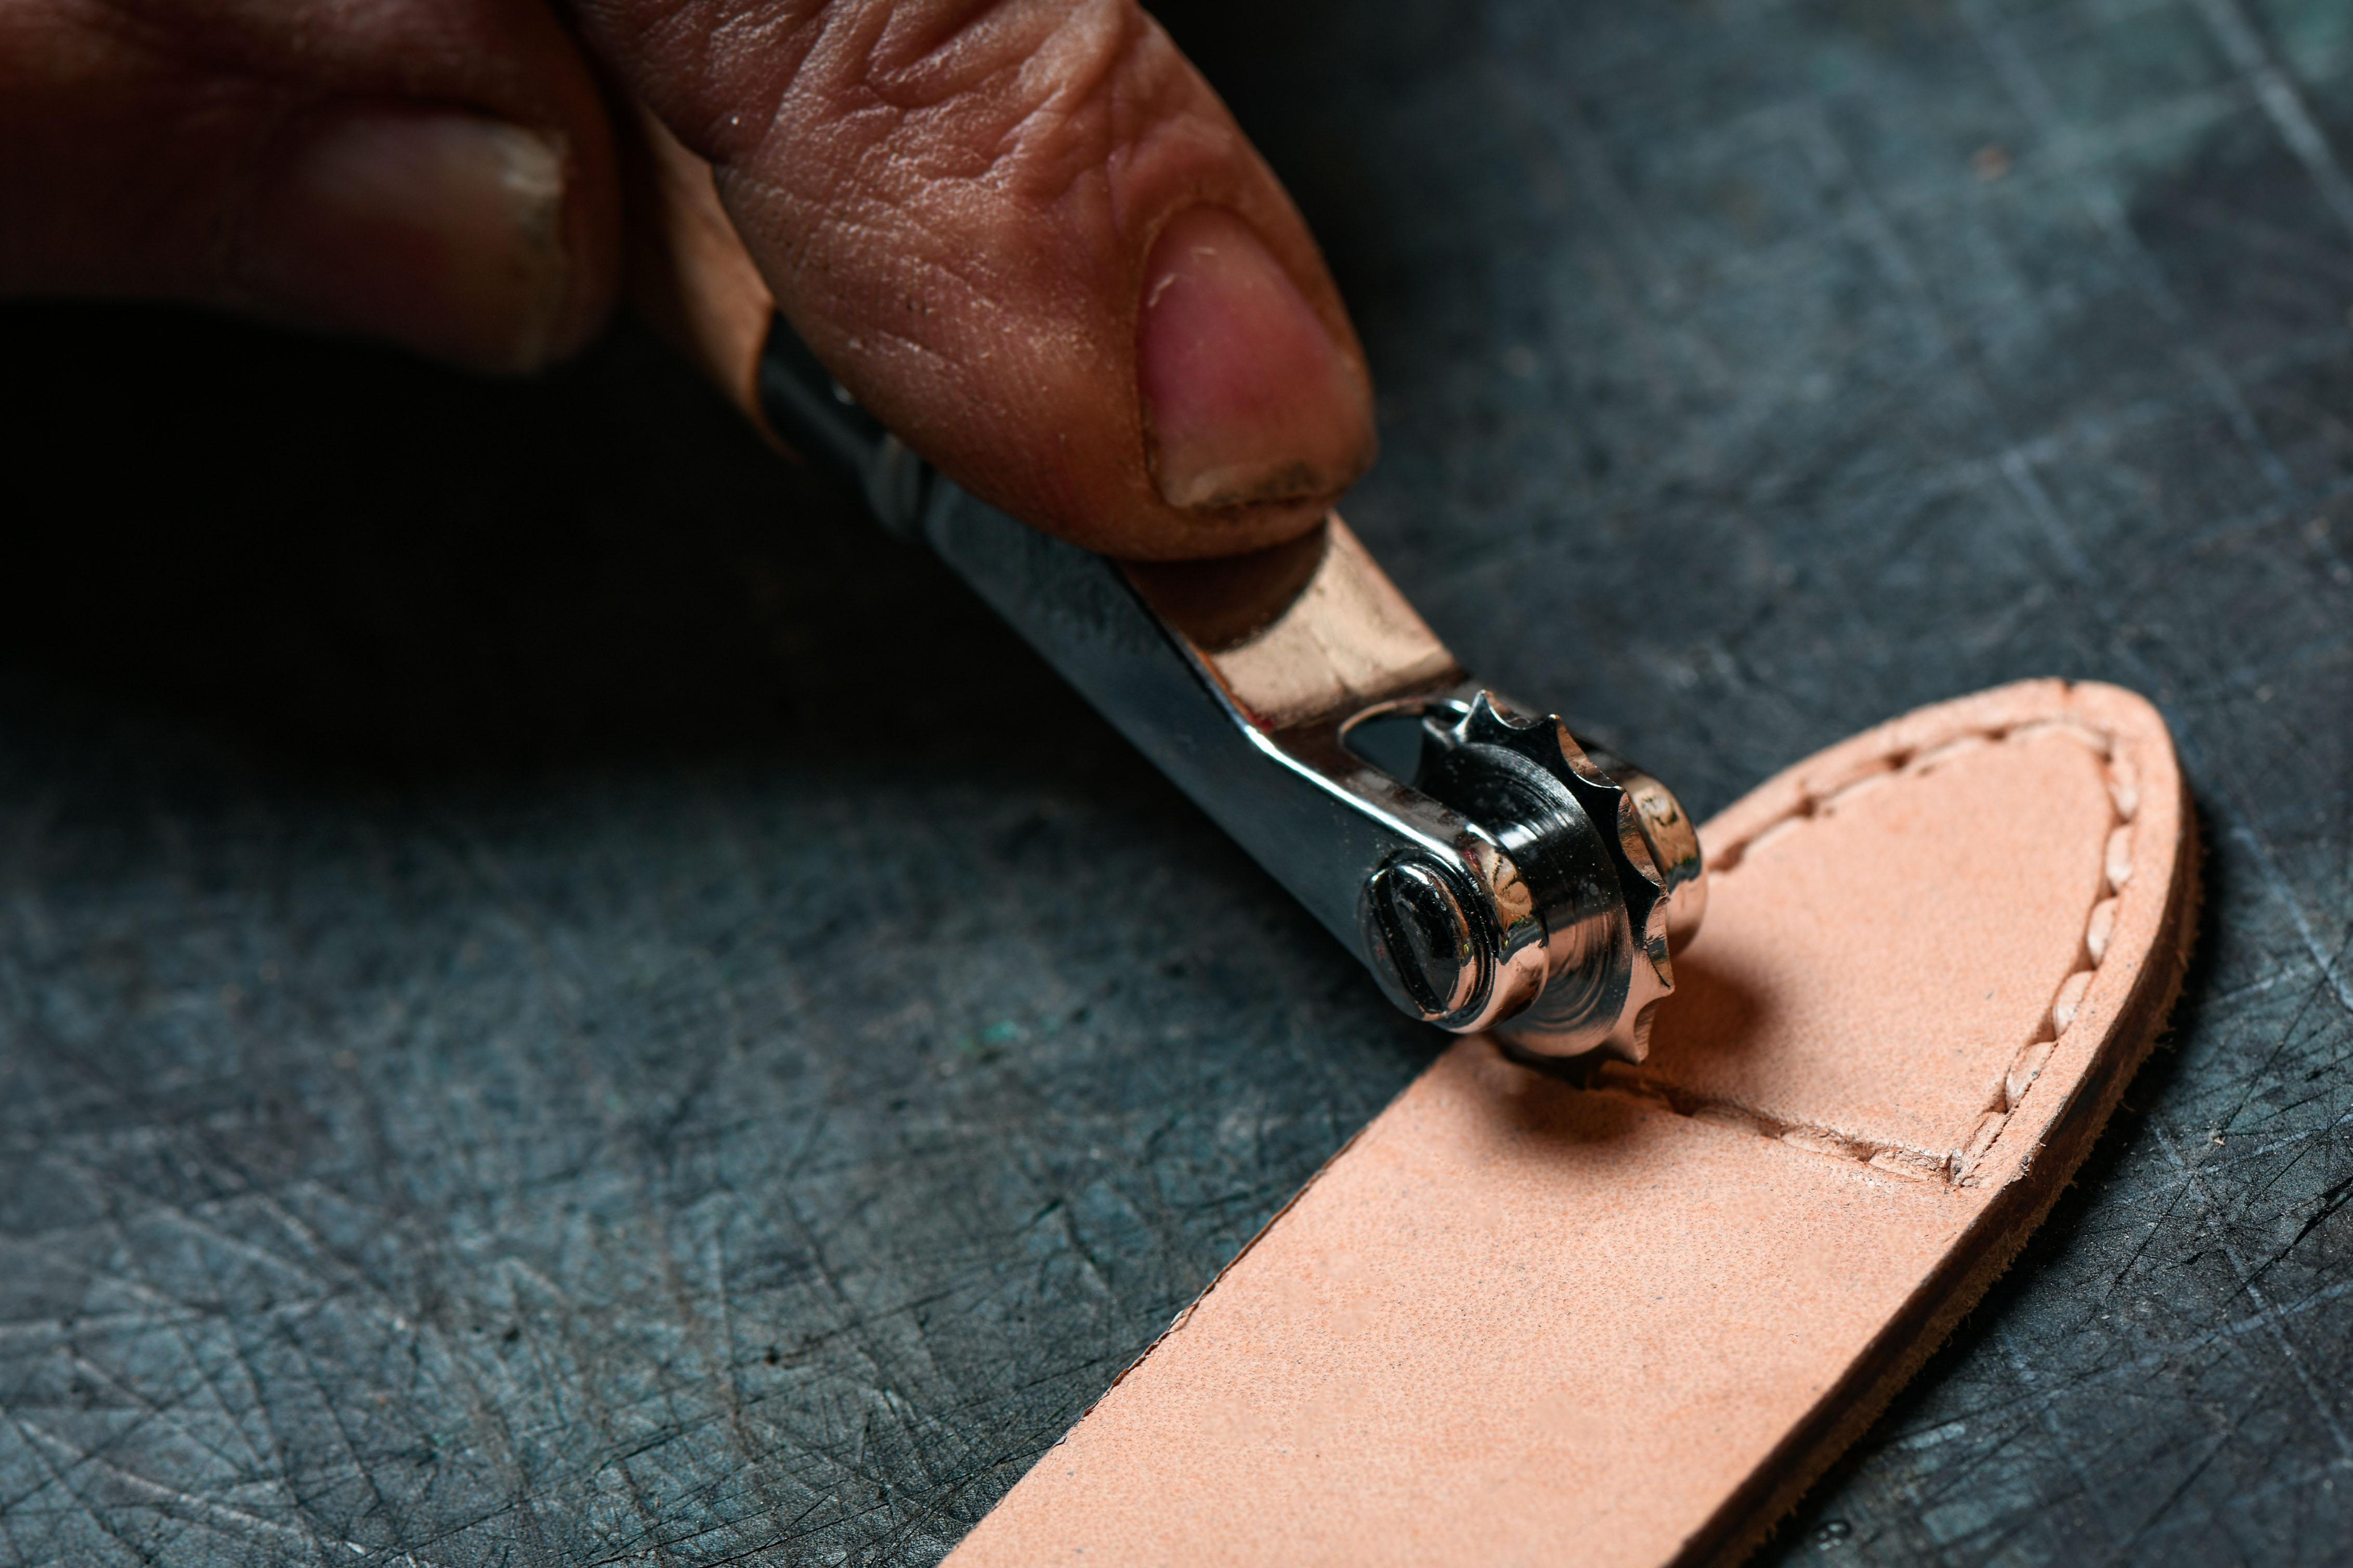
Then use a stitch-marking wheel (it looks like a cowboy spur) to make pre-holes to space your stitches evenly. You can also do without these tools by being a little ingenious..

Measure the outline of the square of your loop and multiply this length by 4 or 5 times. Cut your thread according to the length calculated above. Tie an "overhand" knot with your thread in the needle's cat (diameter 2 mm) at each end (see a tutorial on the Internet for more information).
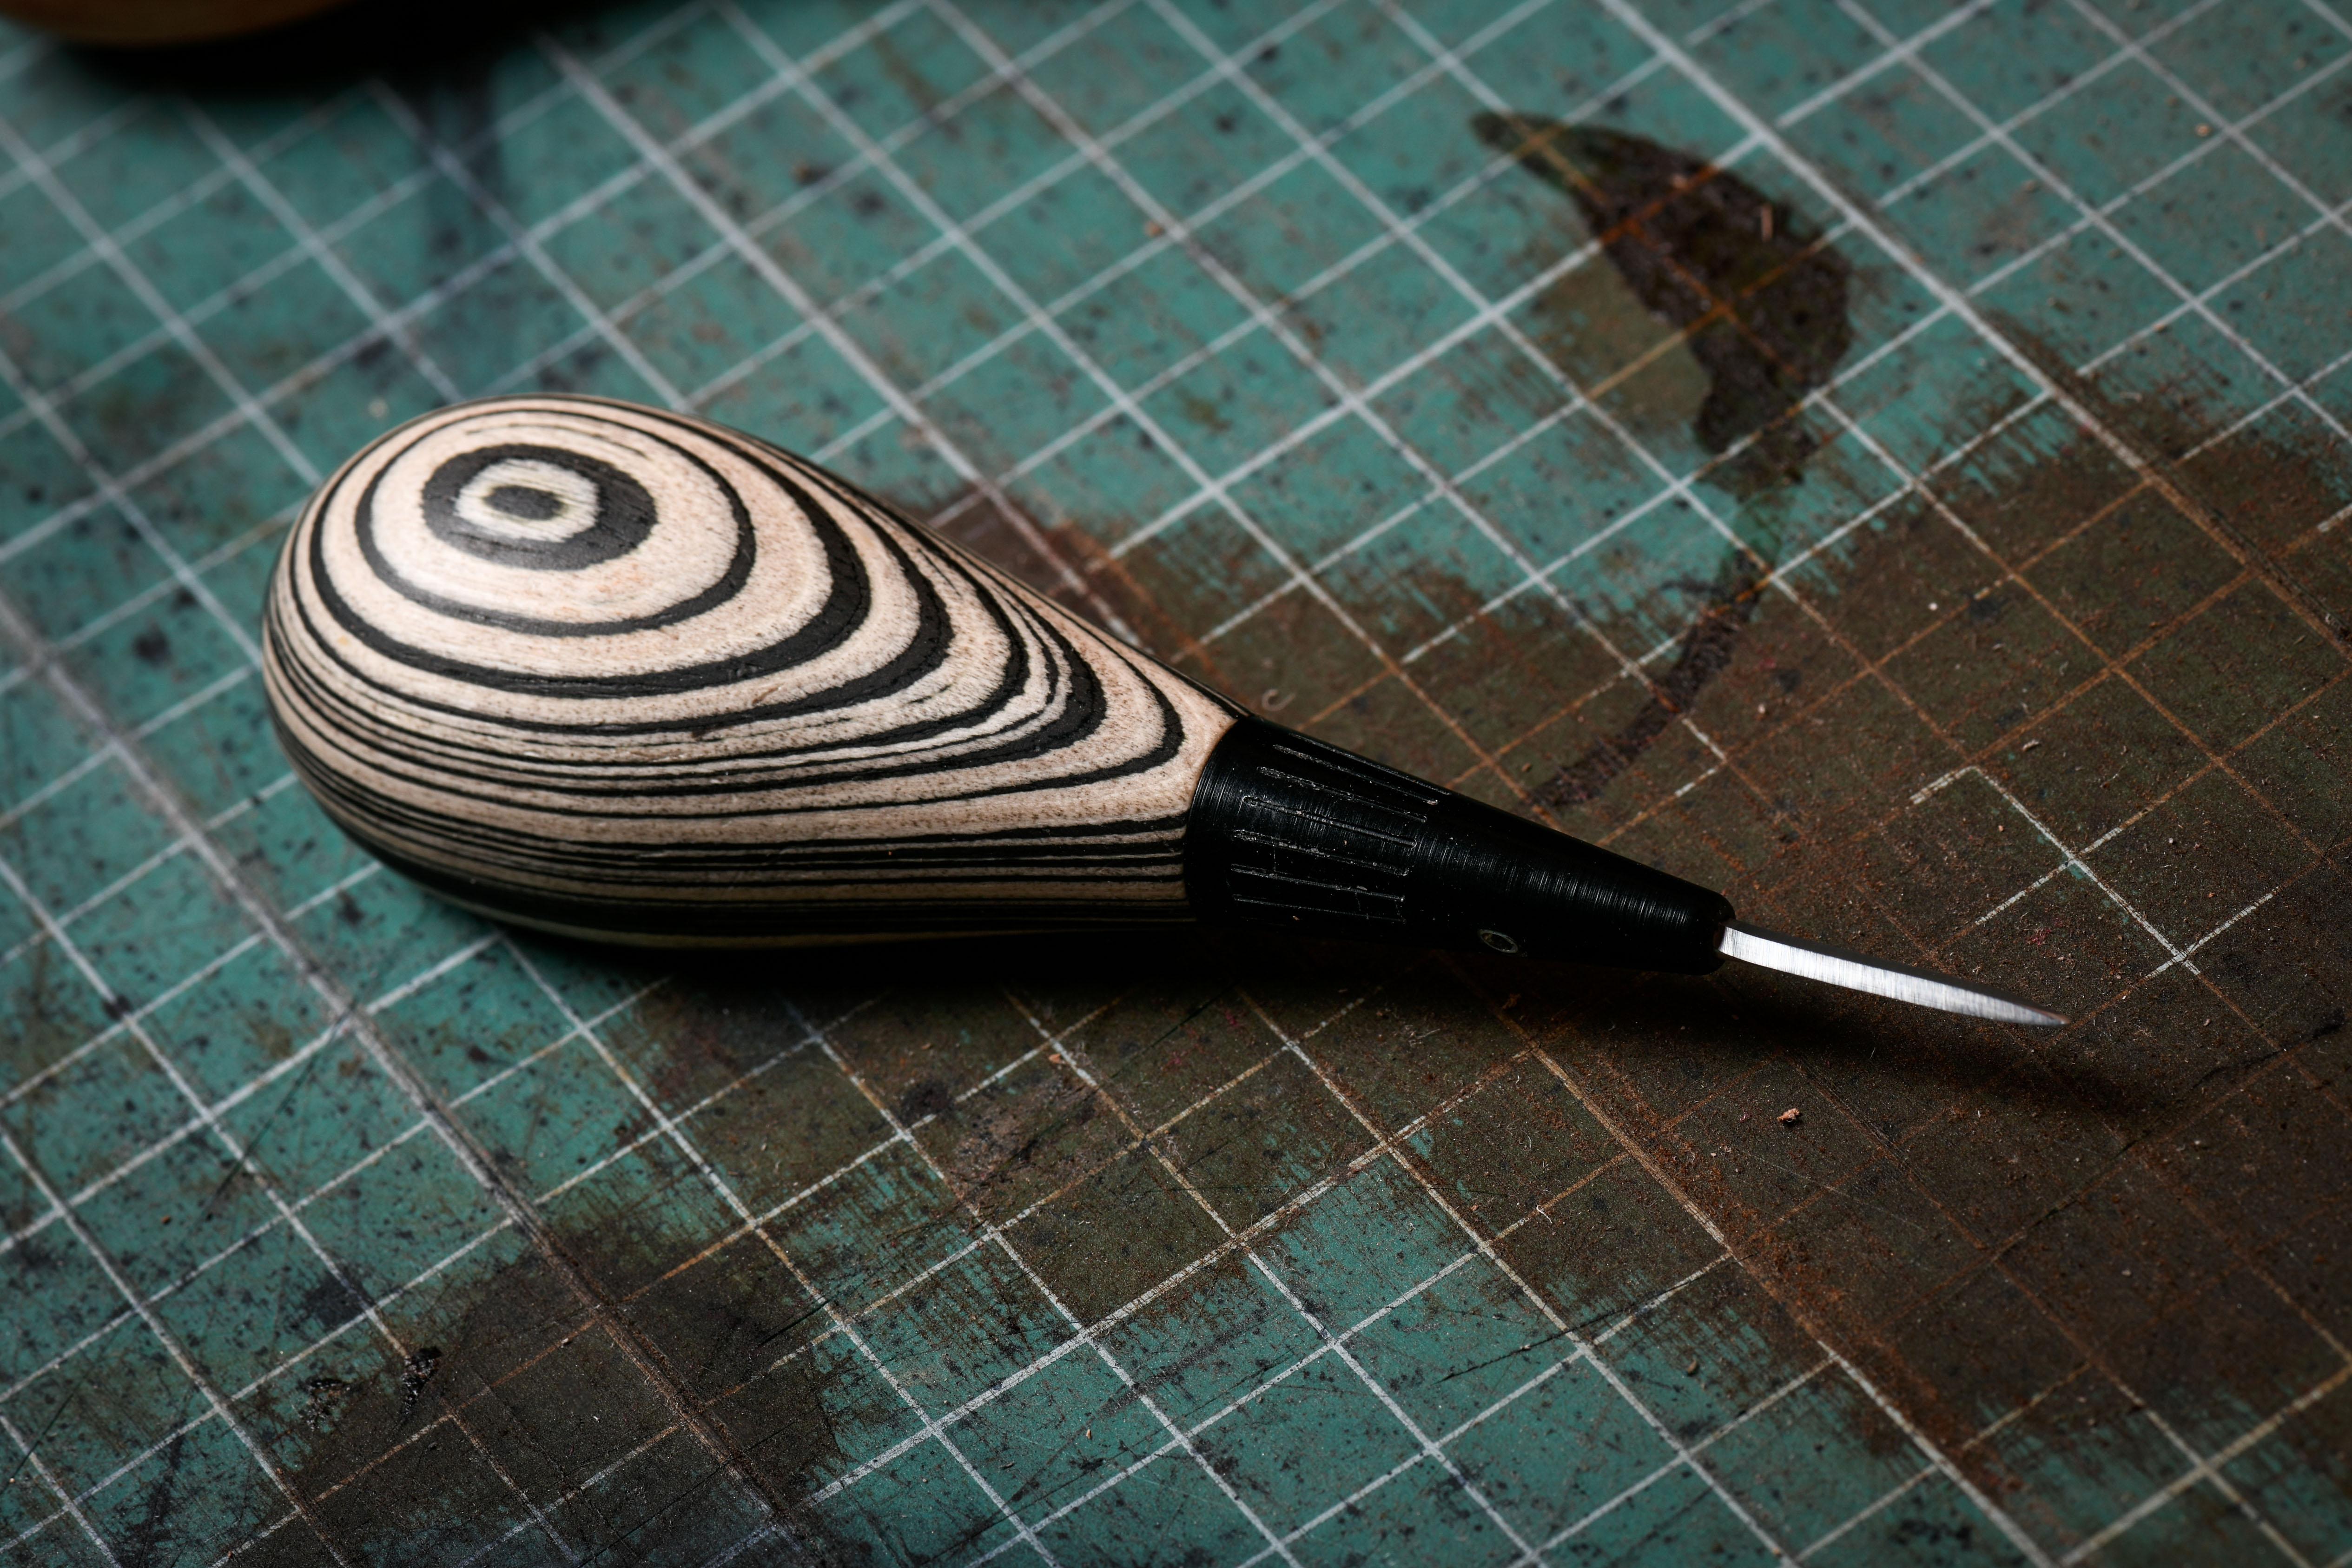
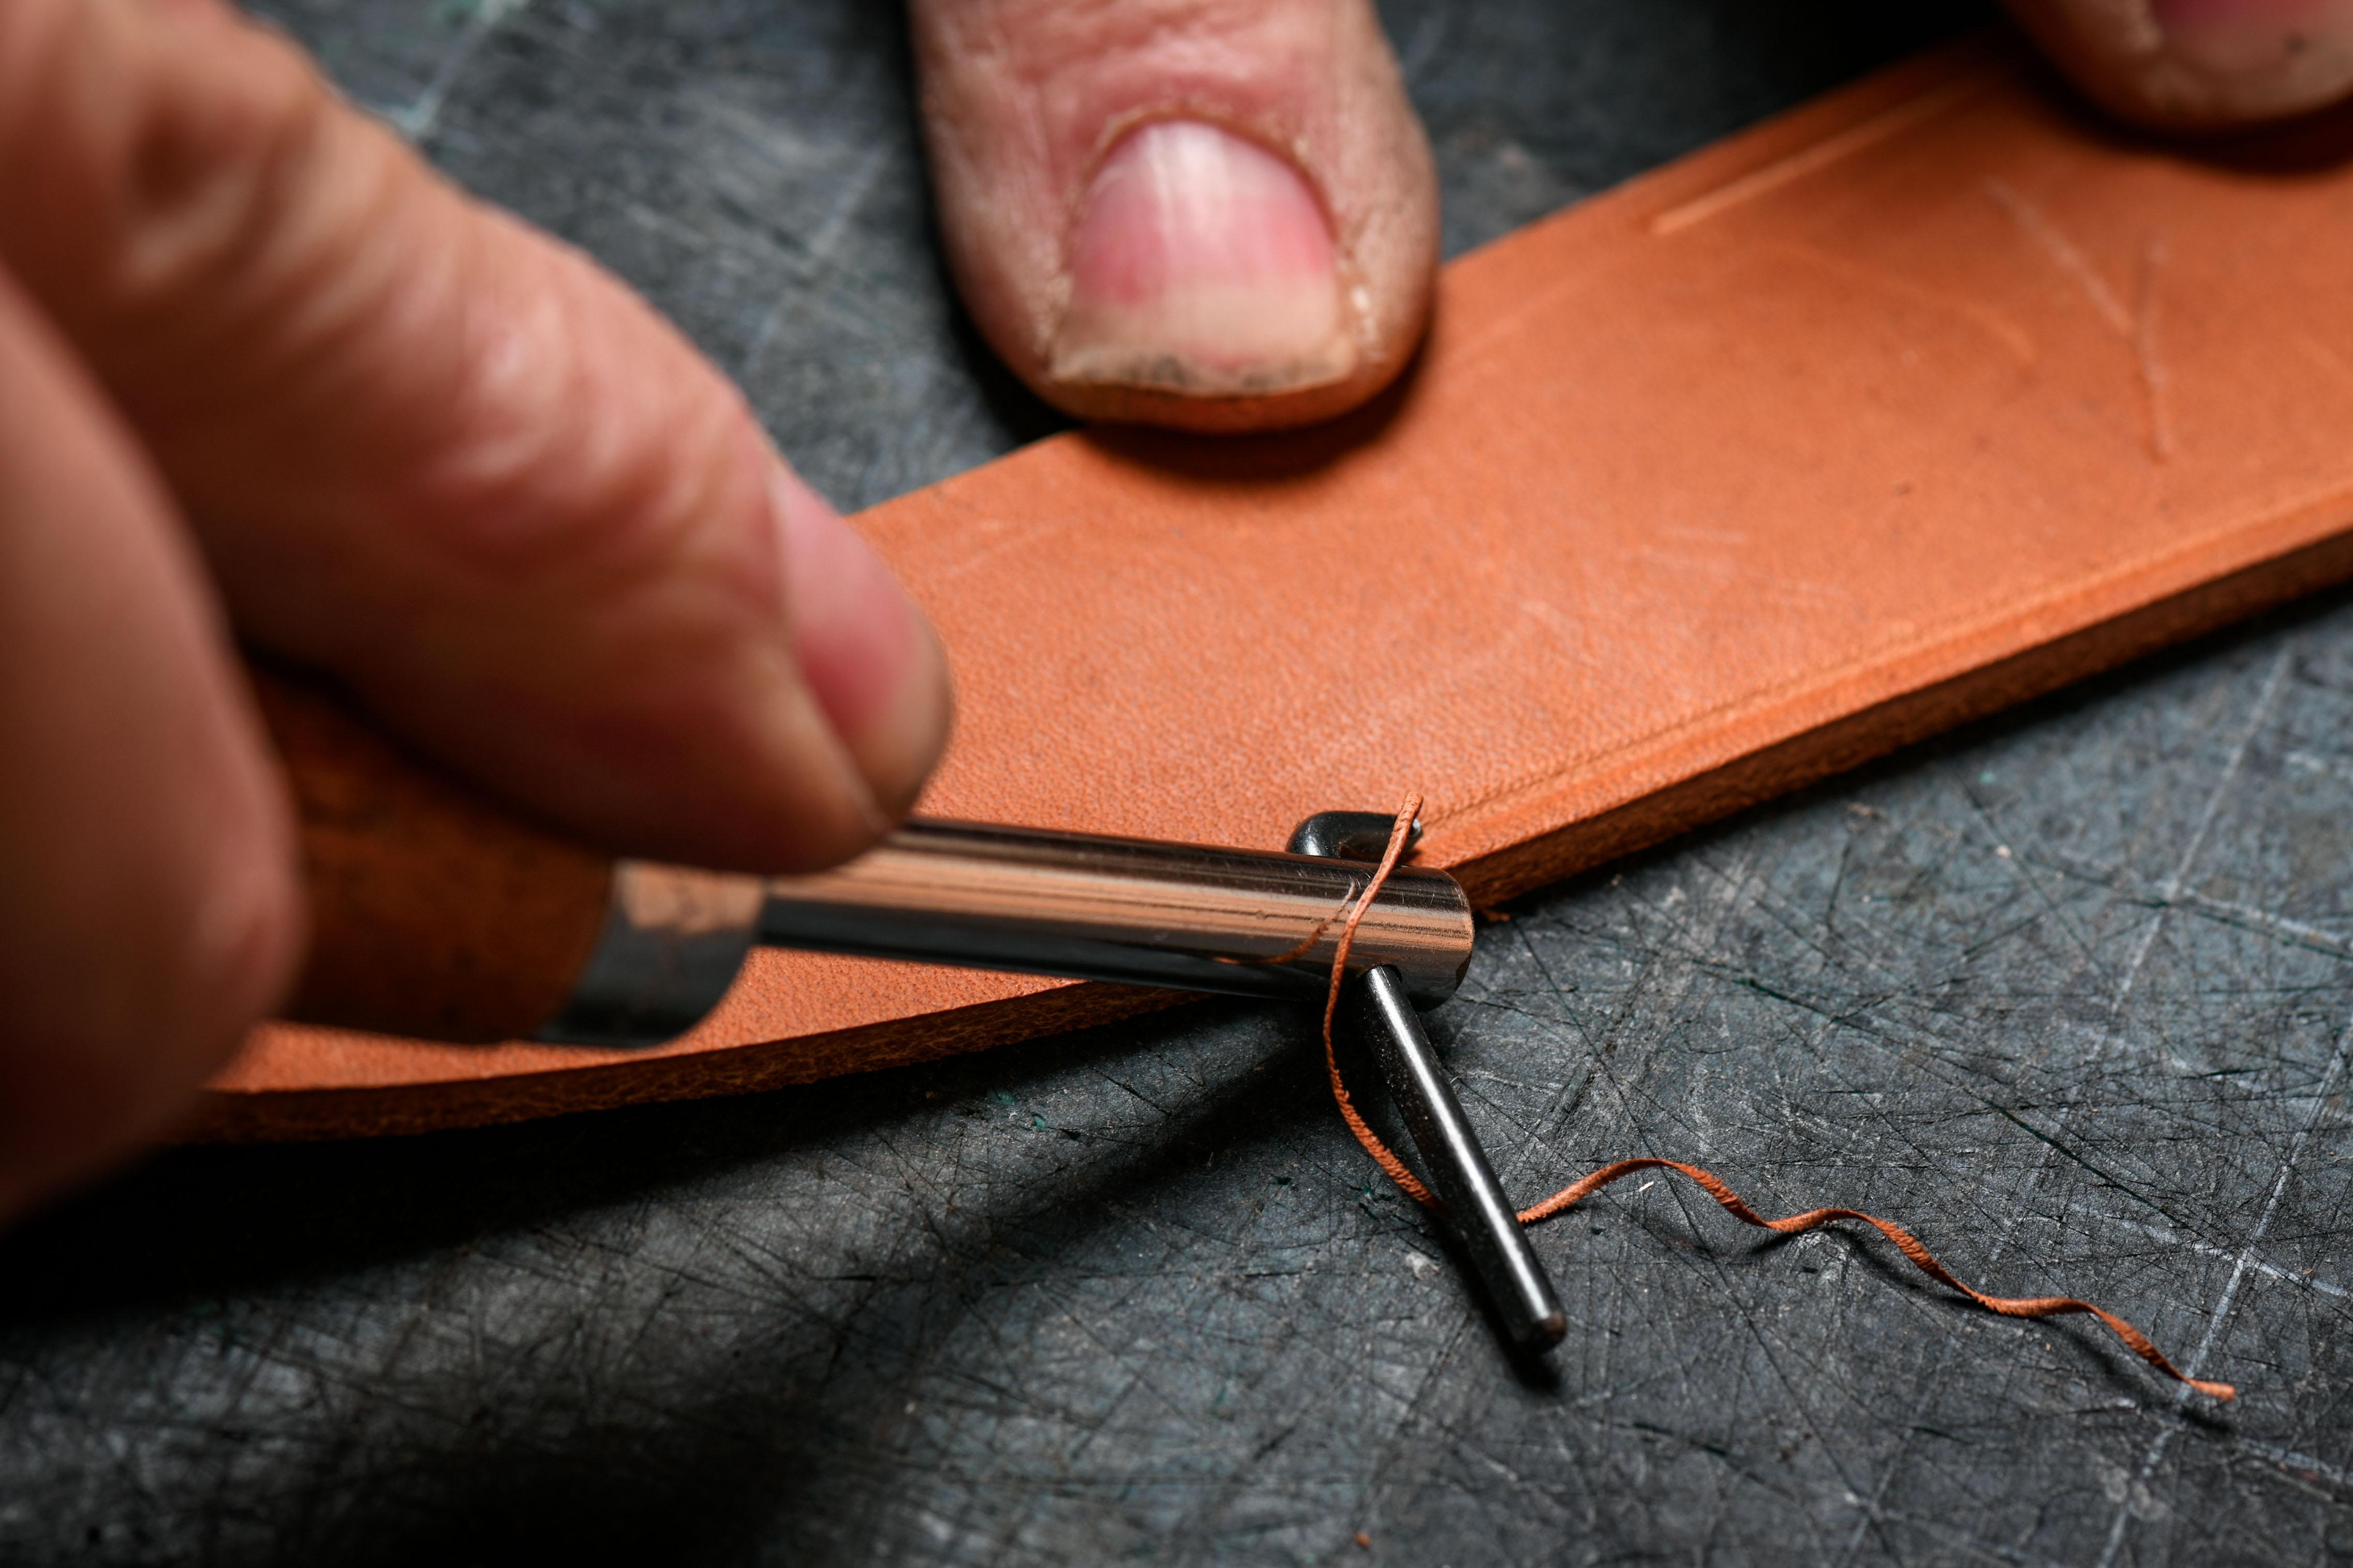
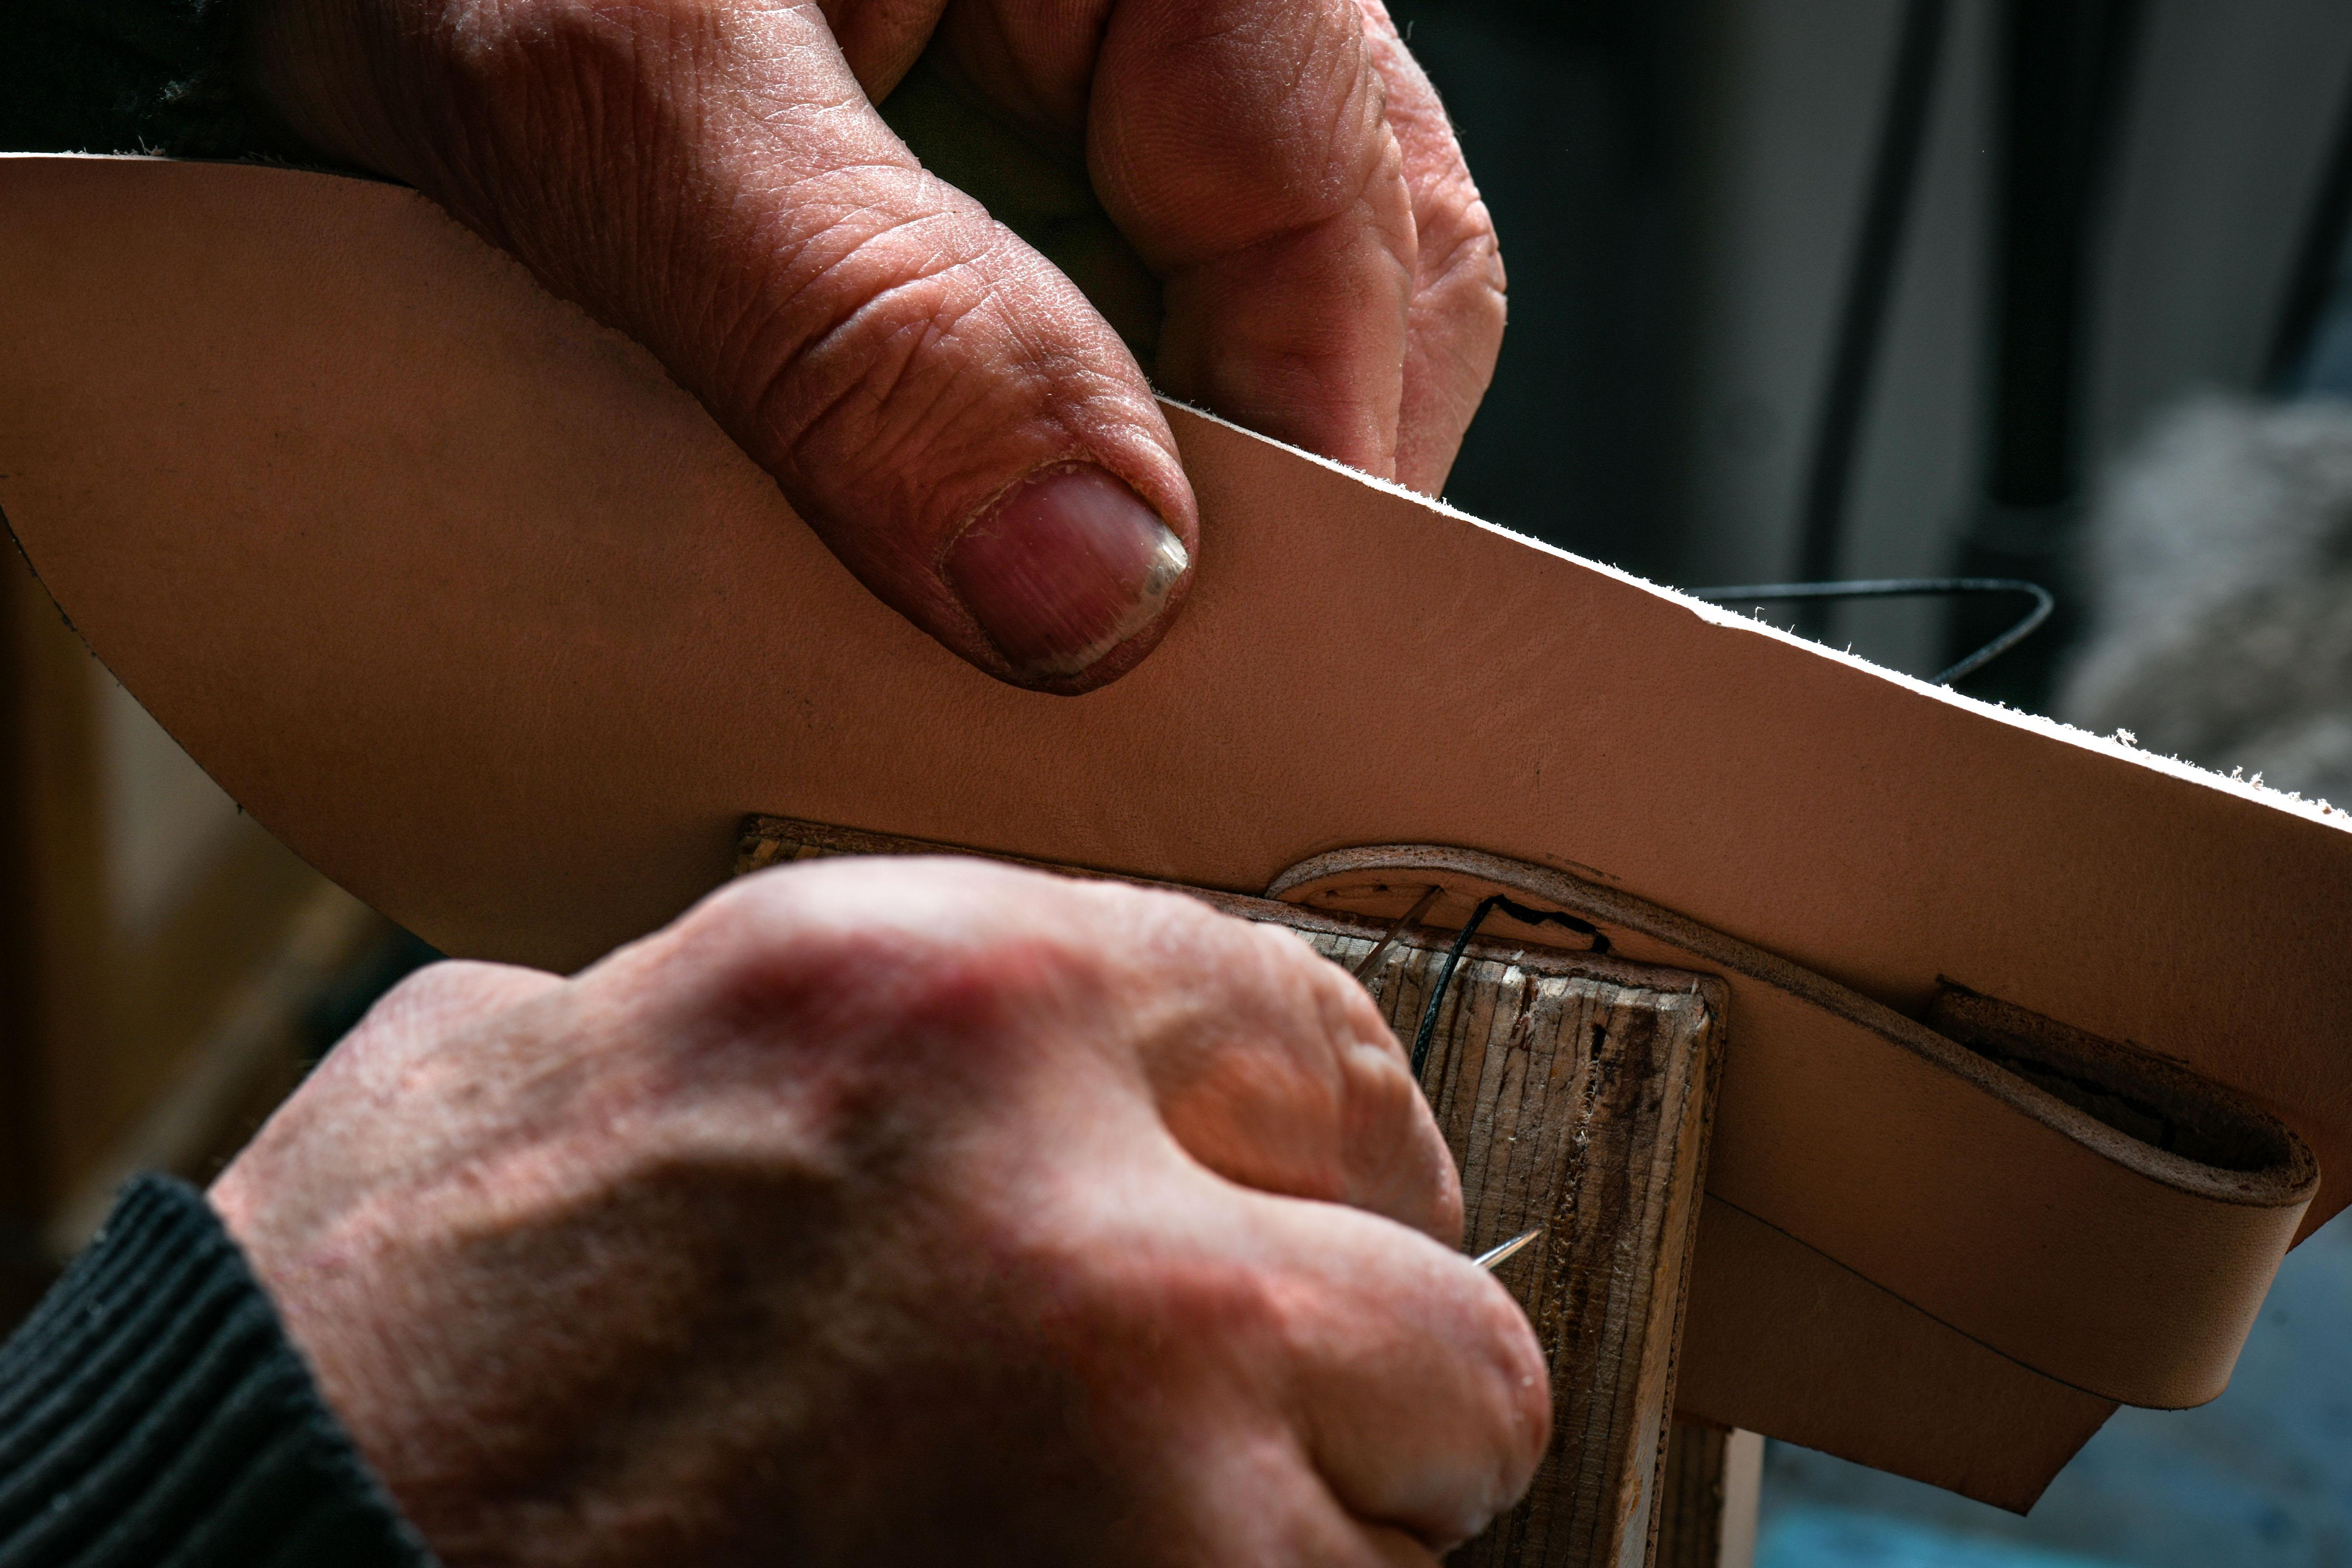
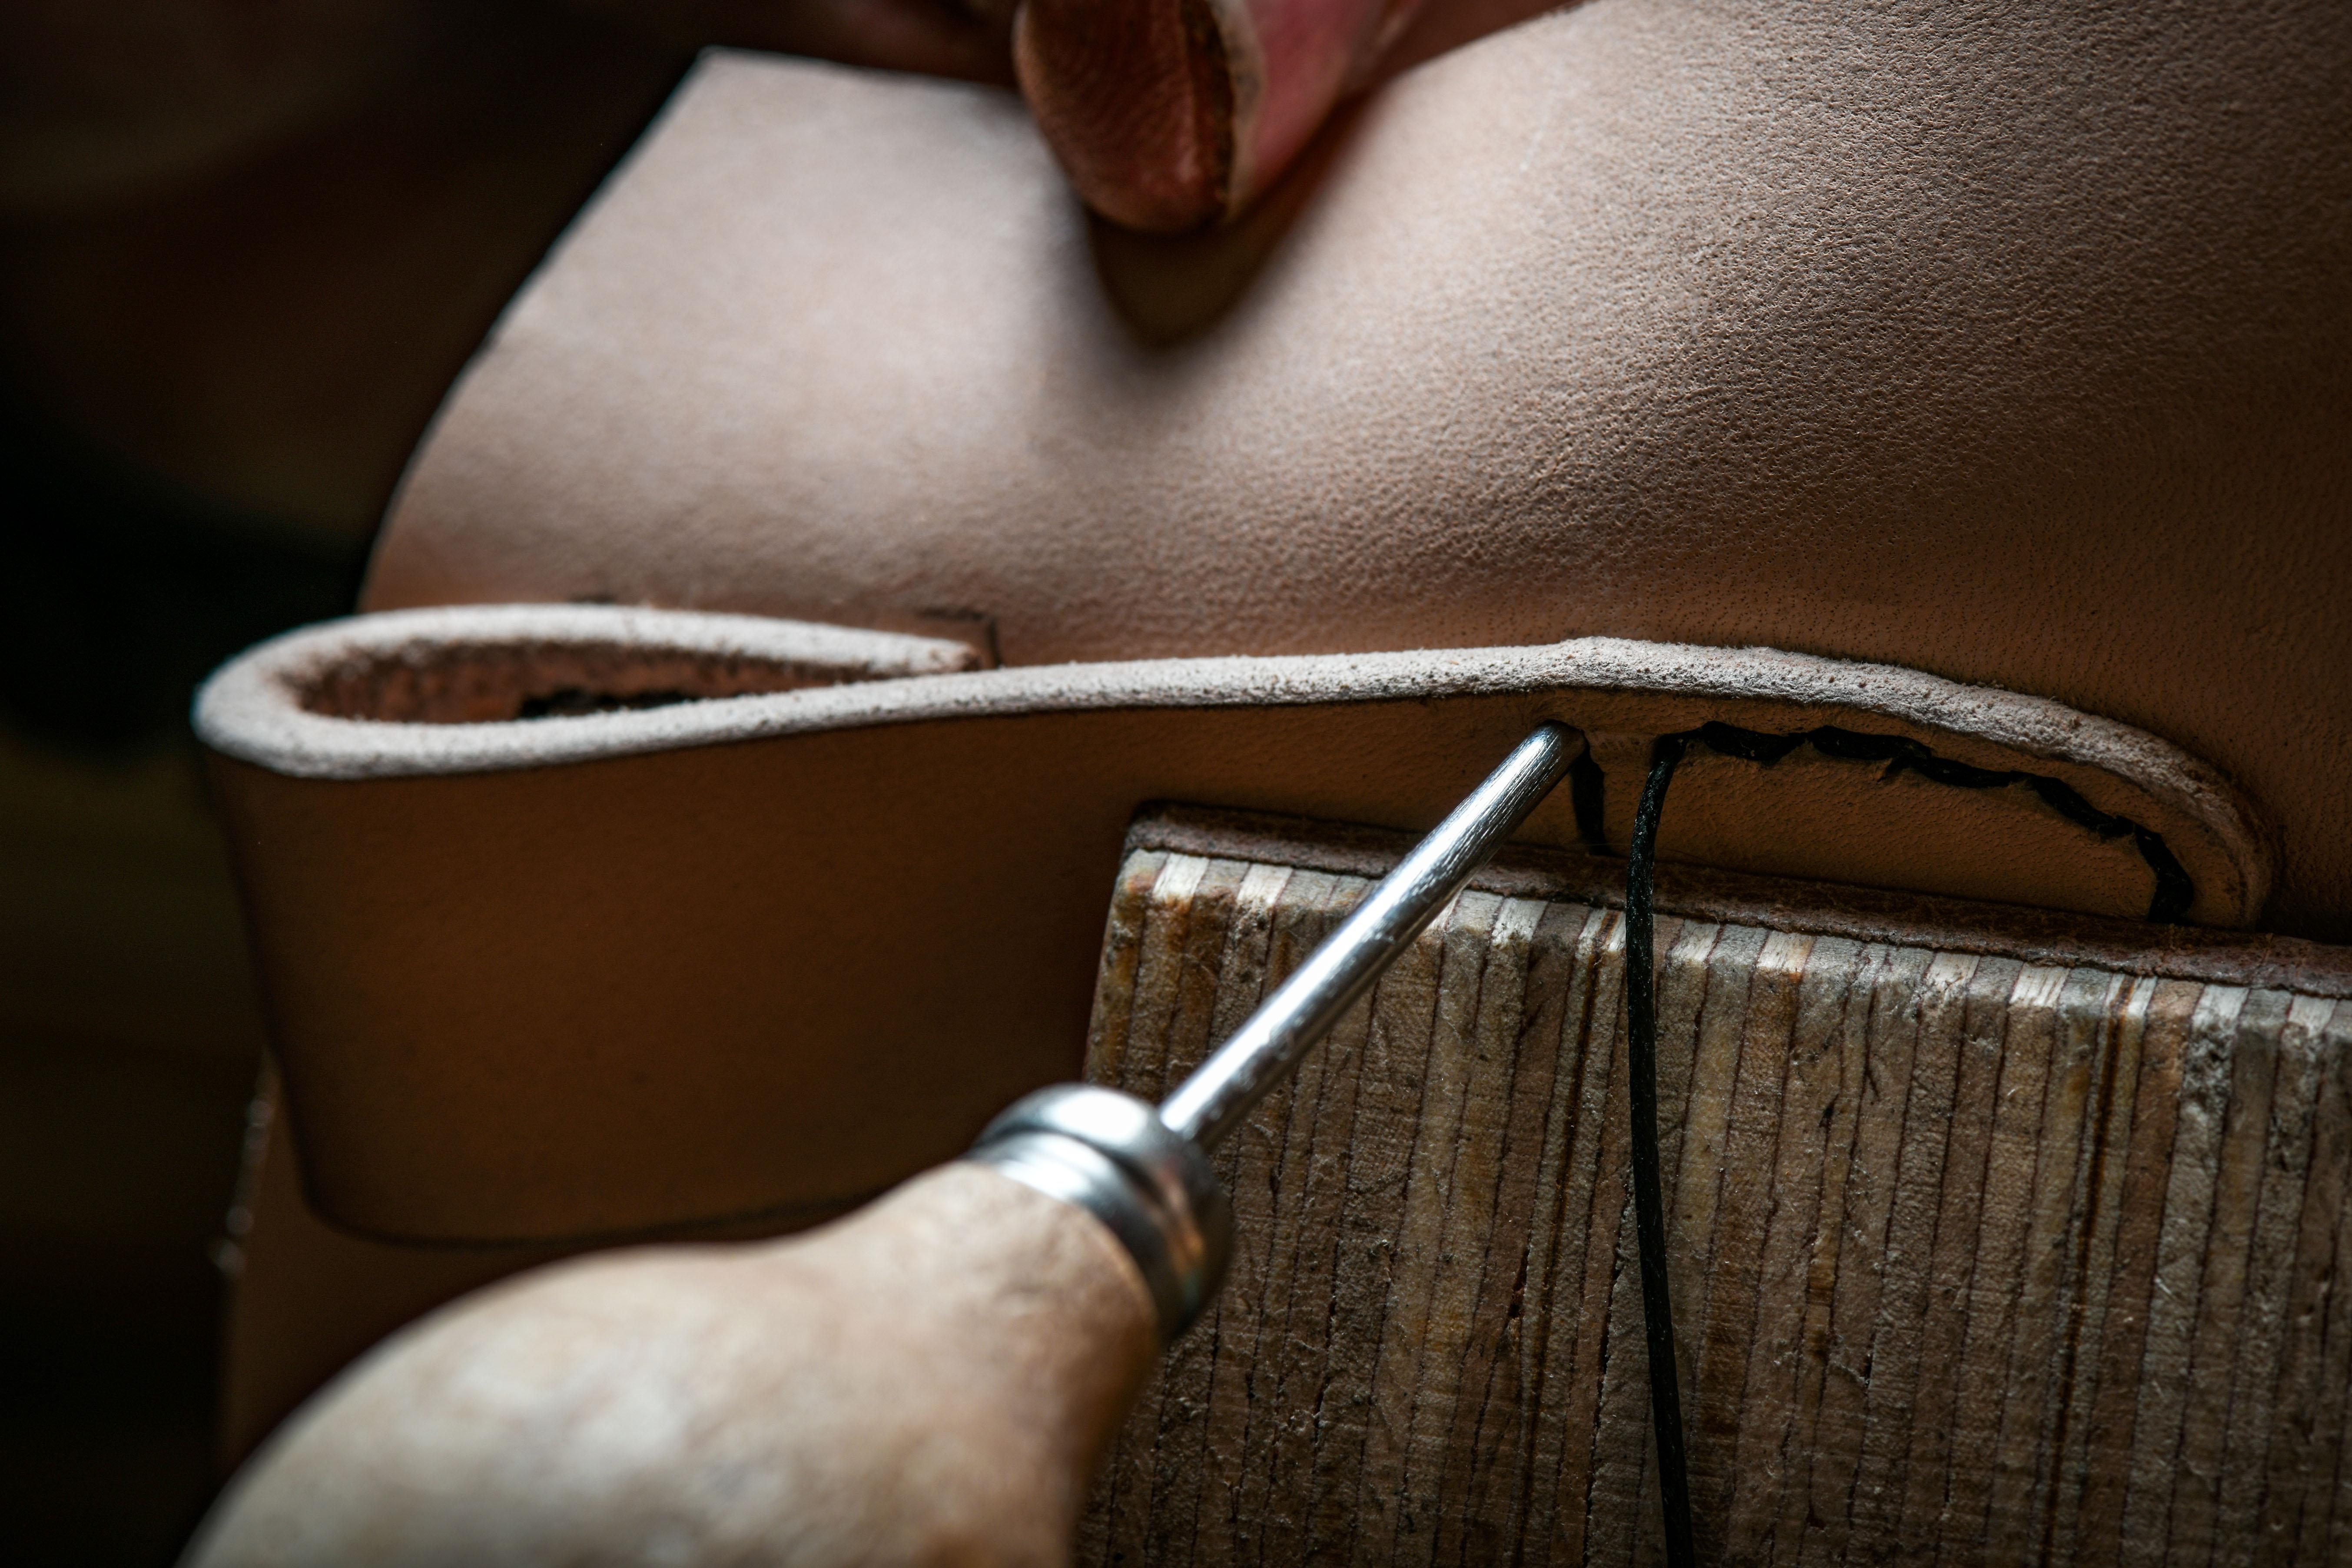
Using a diamond awl (diameter 2 mm), drill your first hole (if you don't have an awl, use a 1.6 mm drill bit).
I also invite you to watch a video on "how to make a saddle stitch". Here's a quick overview of what we've learned:
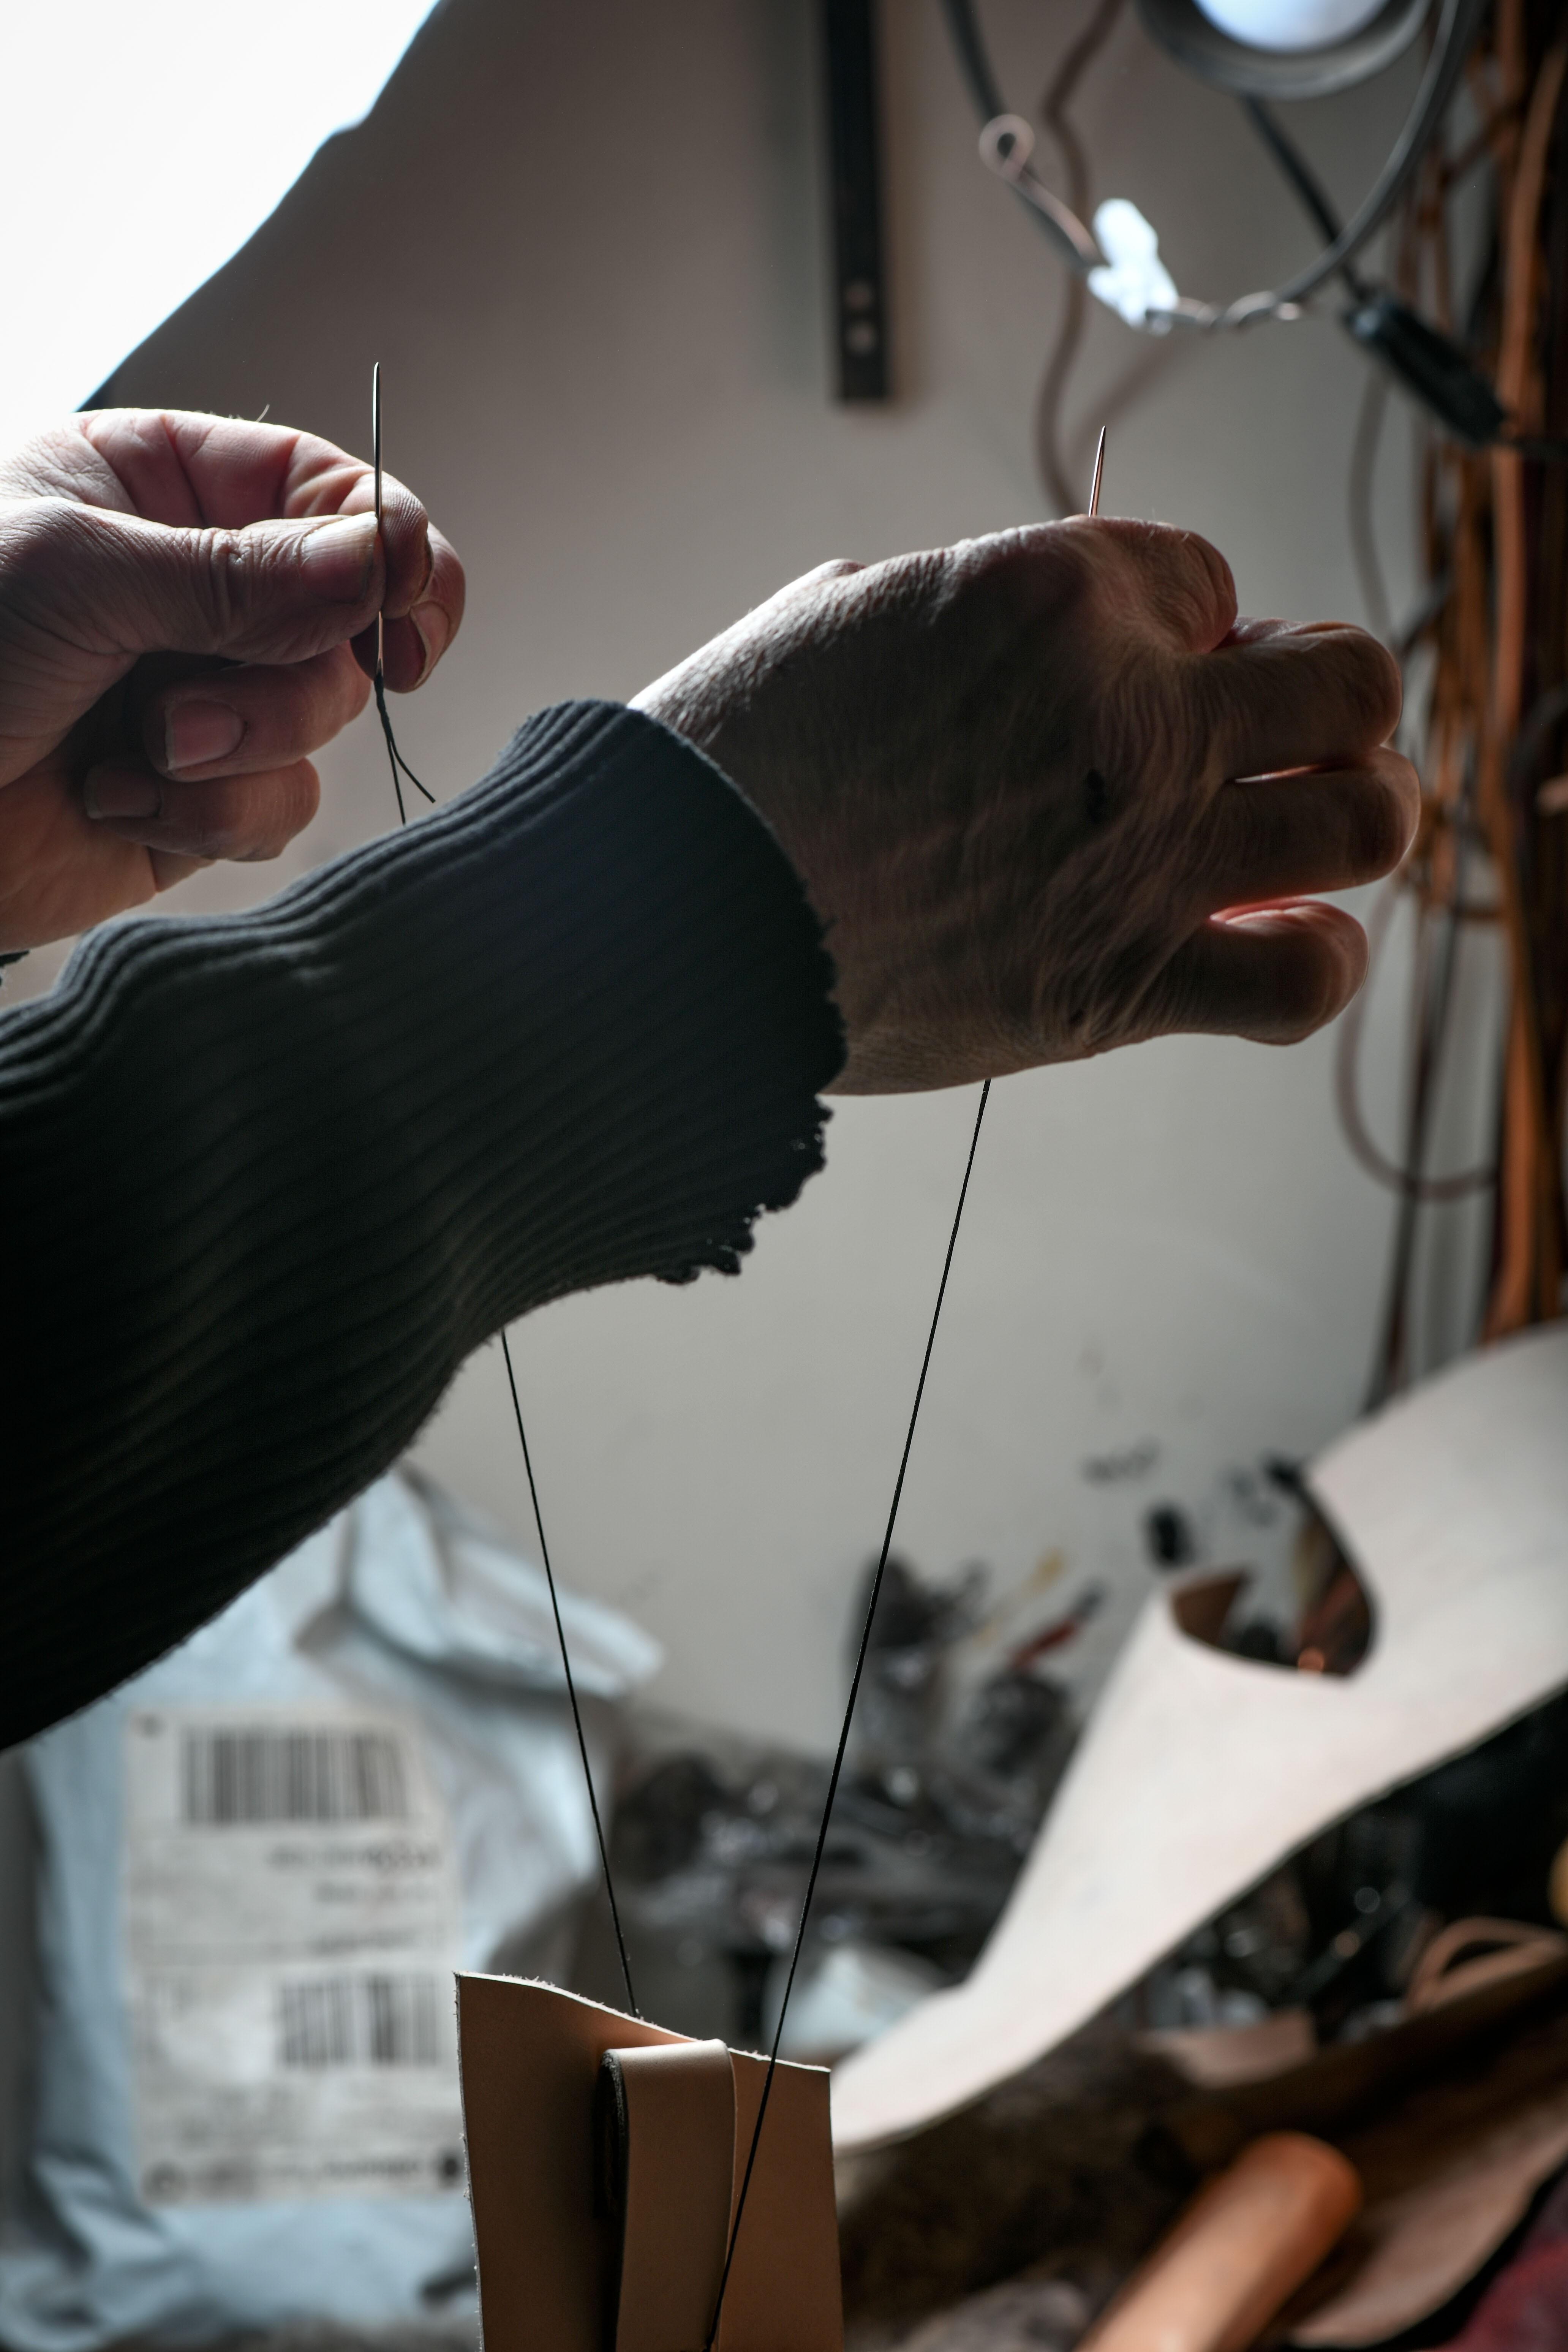
Pass your thread through the hole once and, just as when you lace up, leave as much thread on each side.
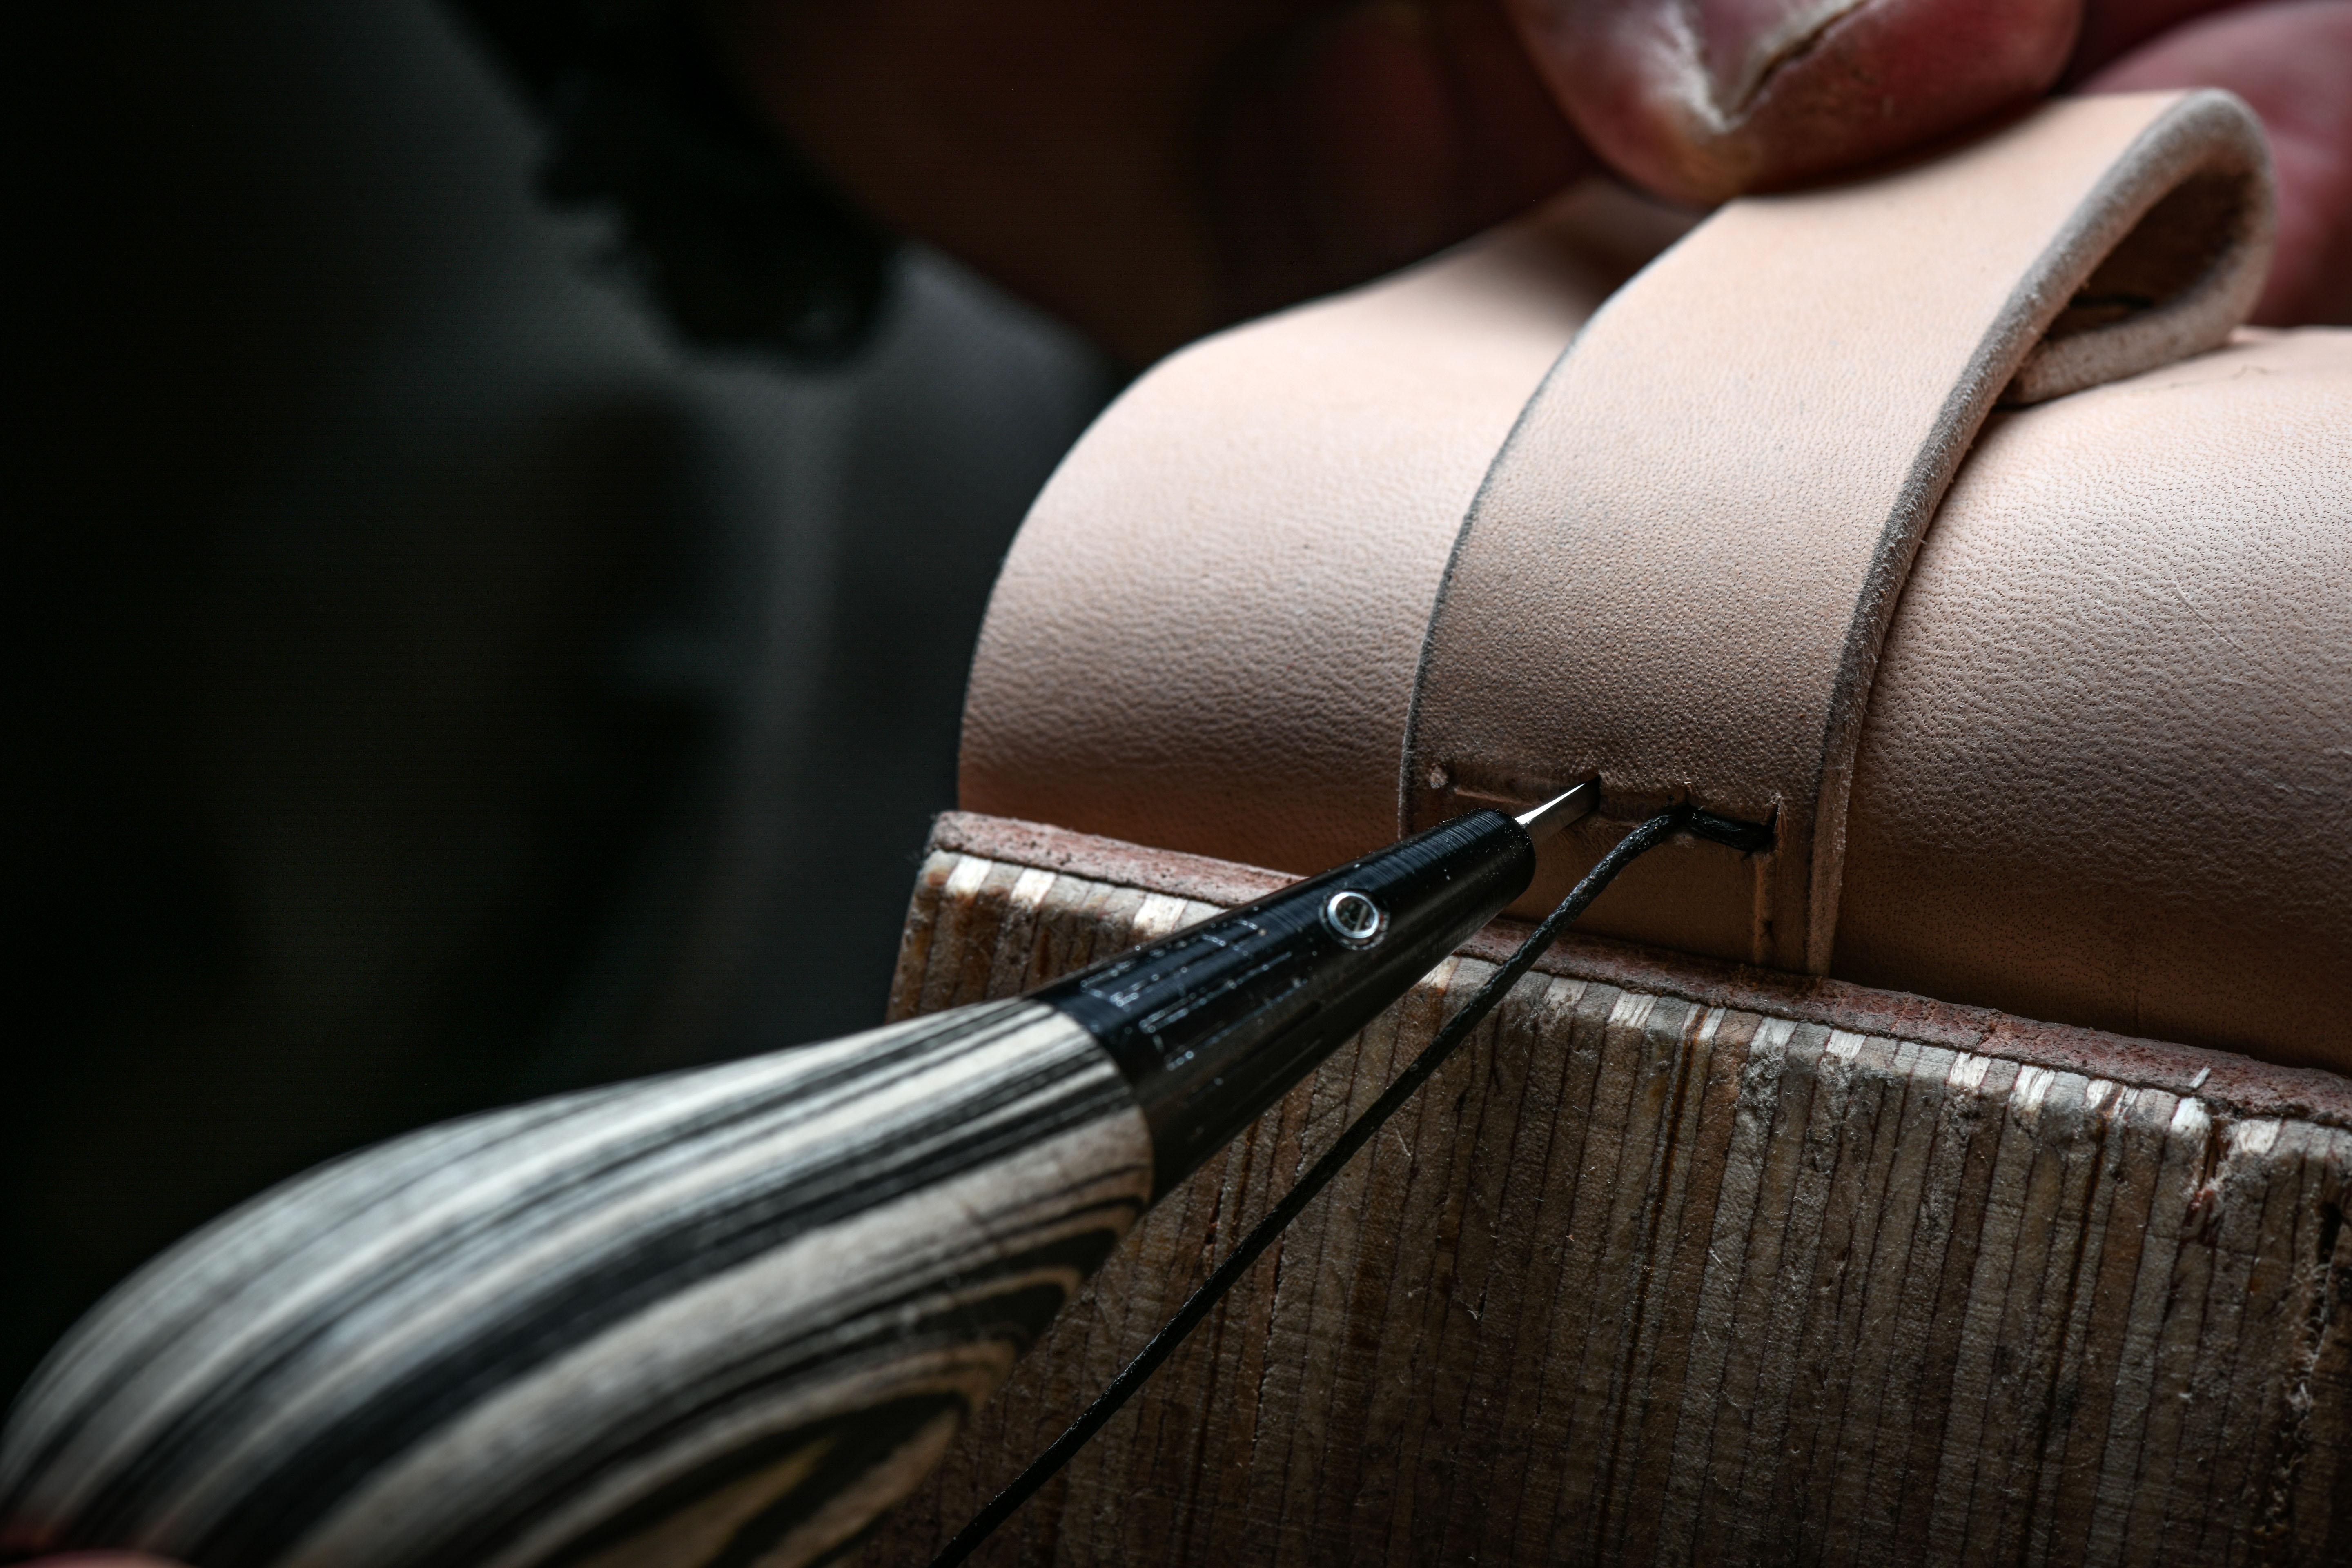
Use the awl to drill a hole right next to it, pass the thread in one direction and then in the other direction with the other awl.
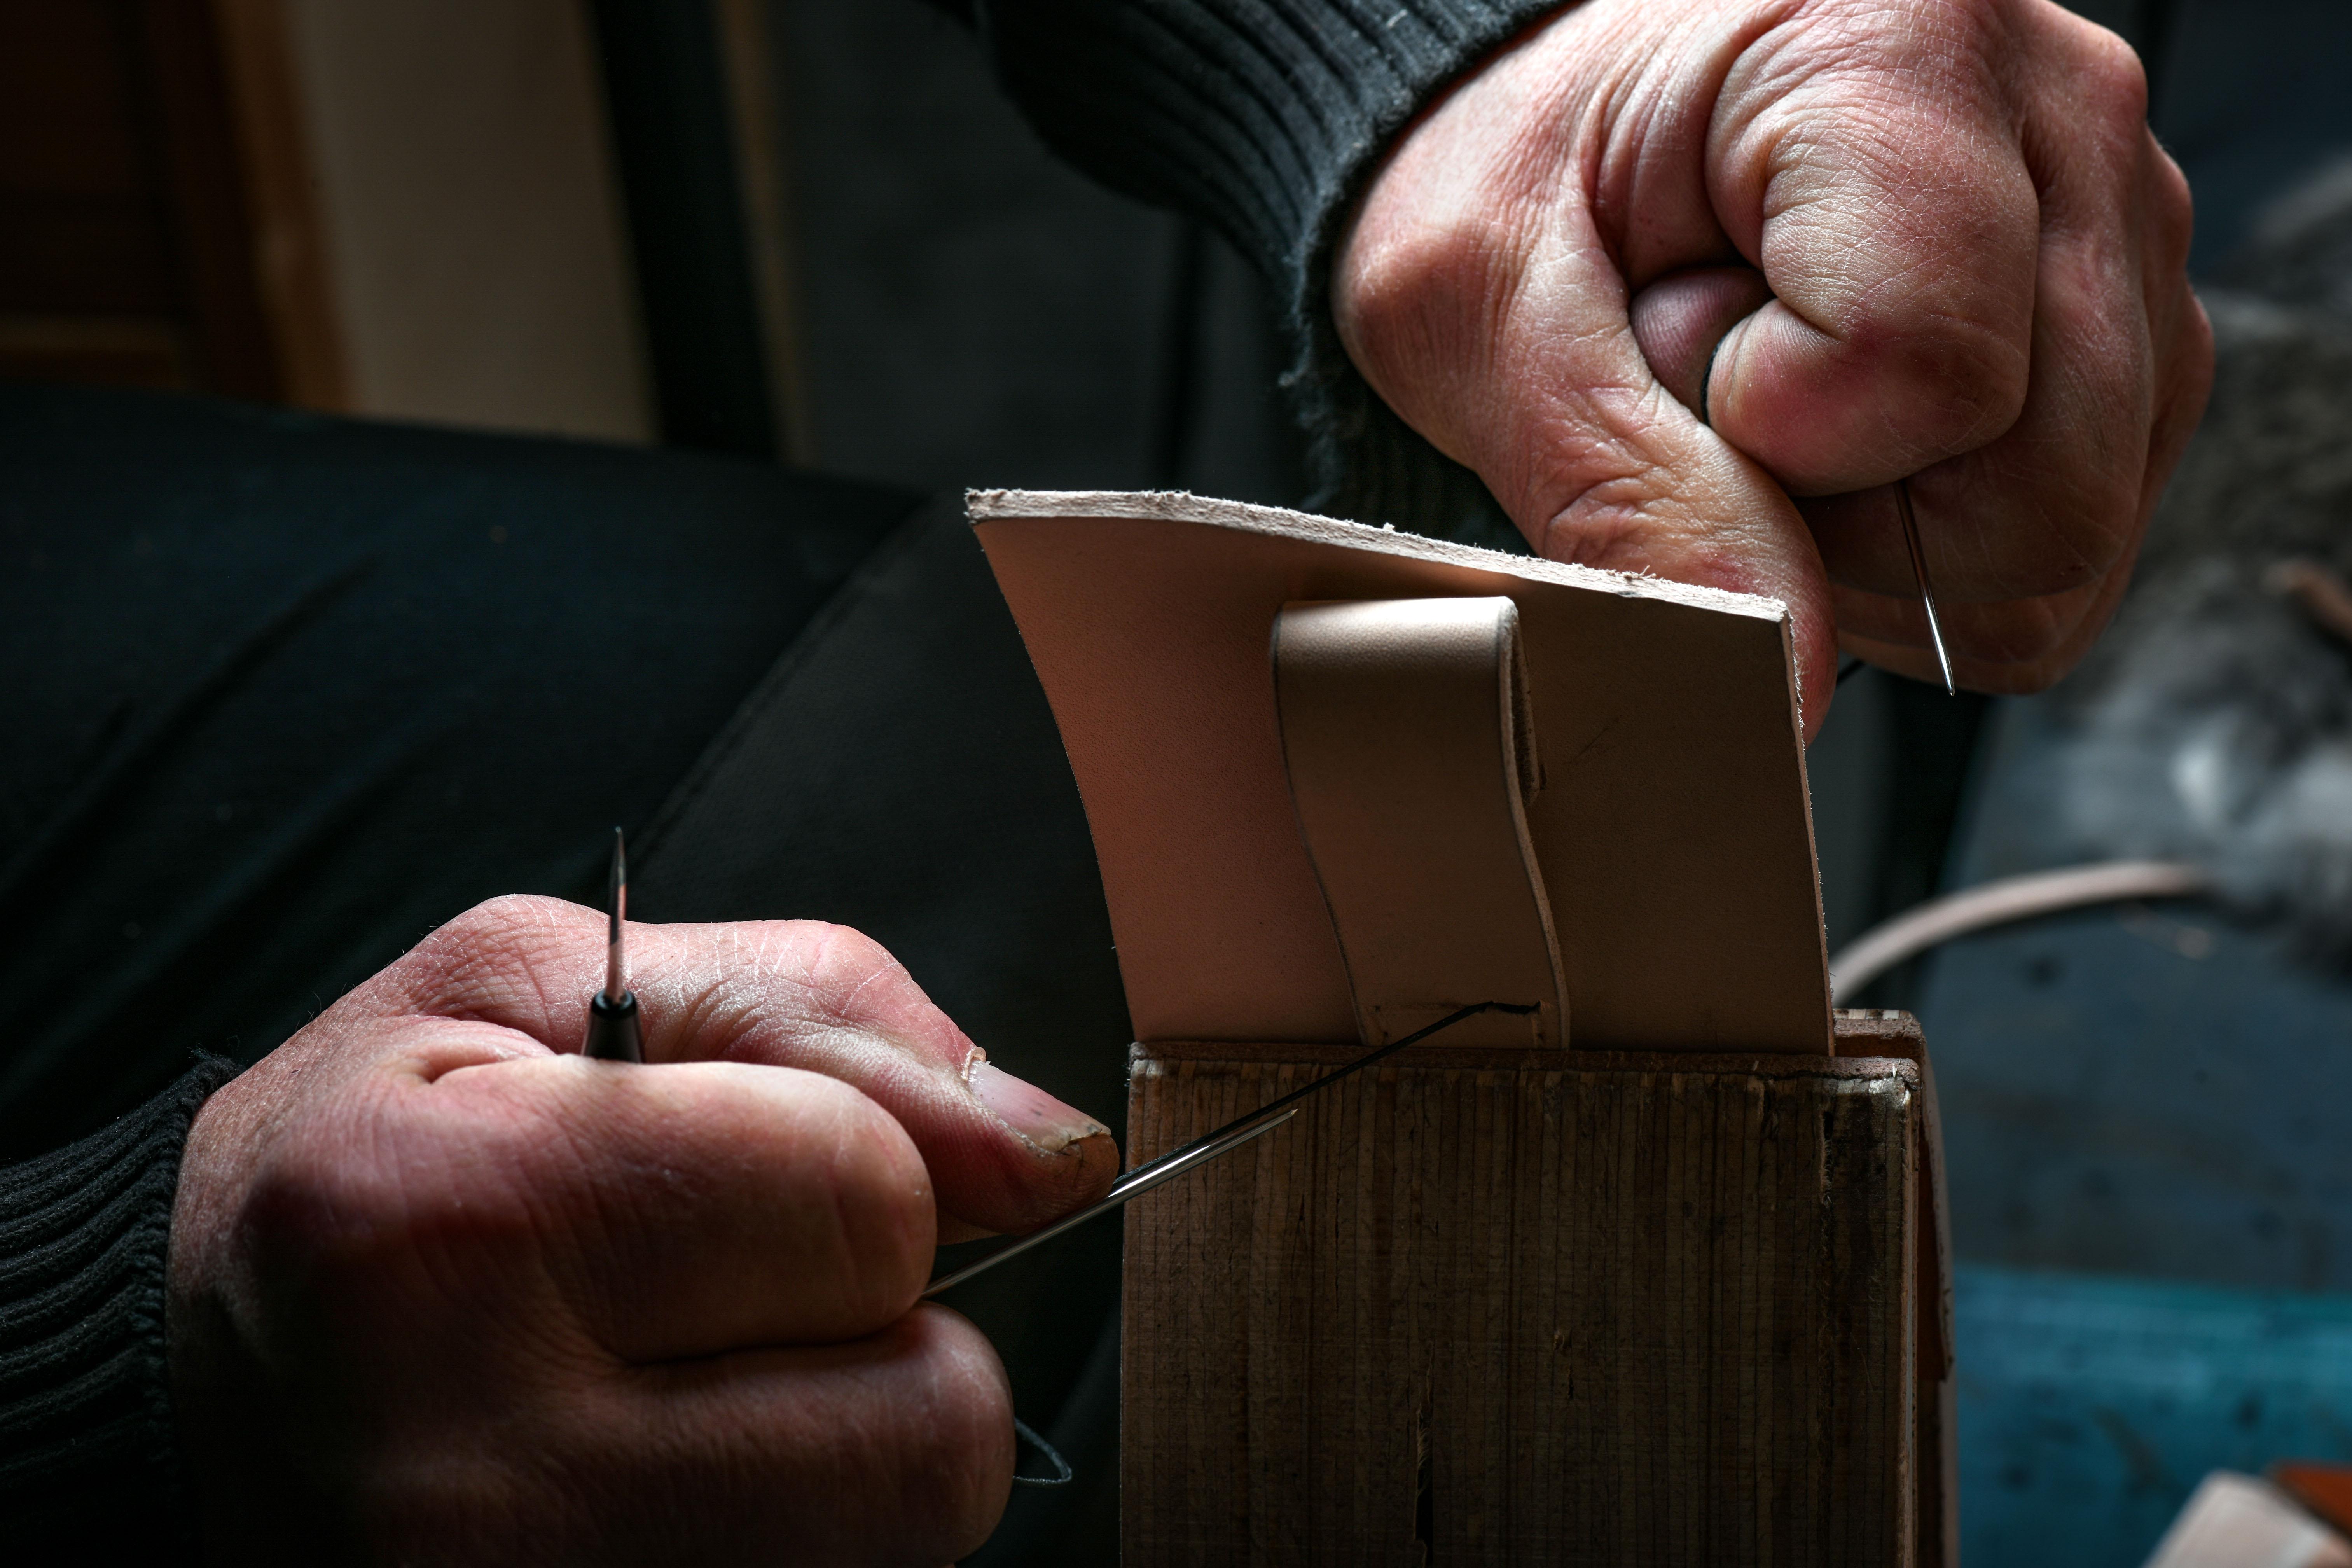
Pull hard, at a 45° angle to make your first point.
Repeat until you've gone all the way around your passer-by.
When you reach the last hole, use a round awl (to avoid damaging the wire) and tie two knots, one on top of the other. (Again, a good video will be a great help).
Step 3: gluing and sewing the left and right parts
This step is almost the same as step 2, but with the left and right parts. Glue the left and right sides together. You can use a wooden hammer to tap the edges to make sure they stick.
Then sew.
Step 4: Moulding
ATTENTION: Leather marks easily with your fingernails and tools, especially when wet, so don't make marks on your beautiful case.
Wet your leather thoroughly with hot water to soften it. Wrap your knife in cellophane and place it in the leather. Using your fingers and pressure, mold your sheath as close as possible to your knife. When you're satisfied with the result, leave to dry for 2 hours, then remove your knife. Wait a further 8 hours for the leather to dry completely.
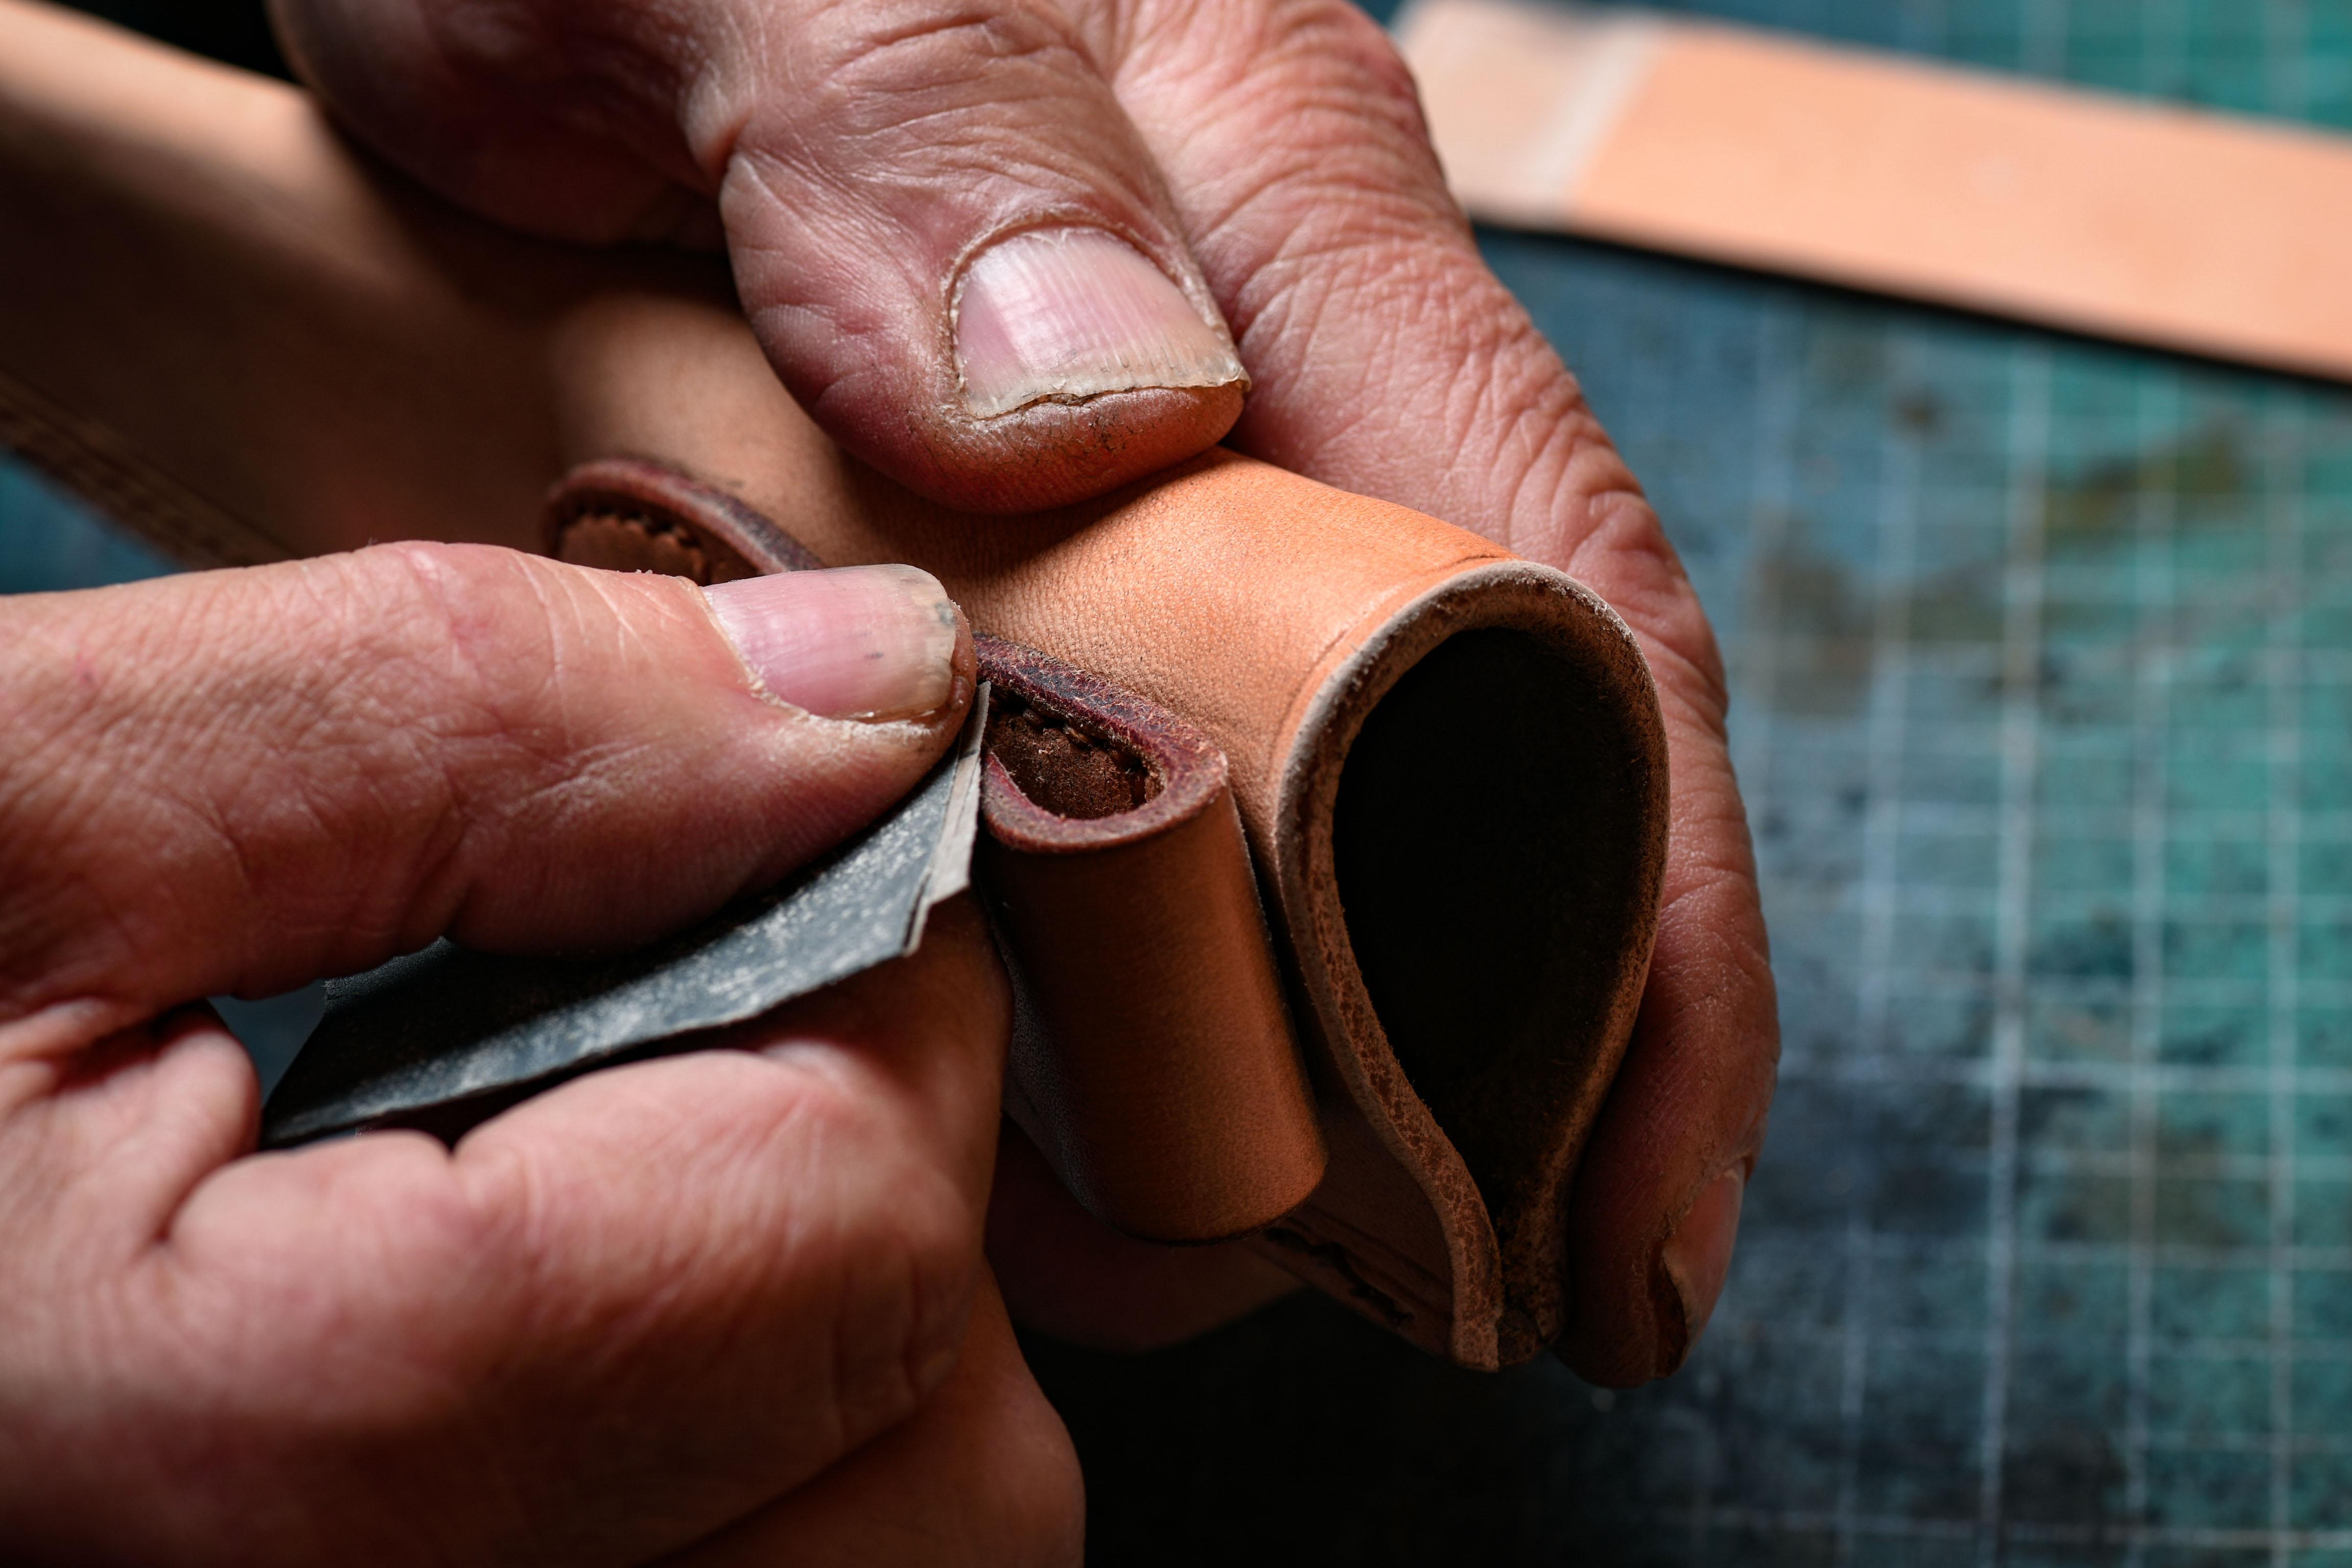
Step 5: Finishing
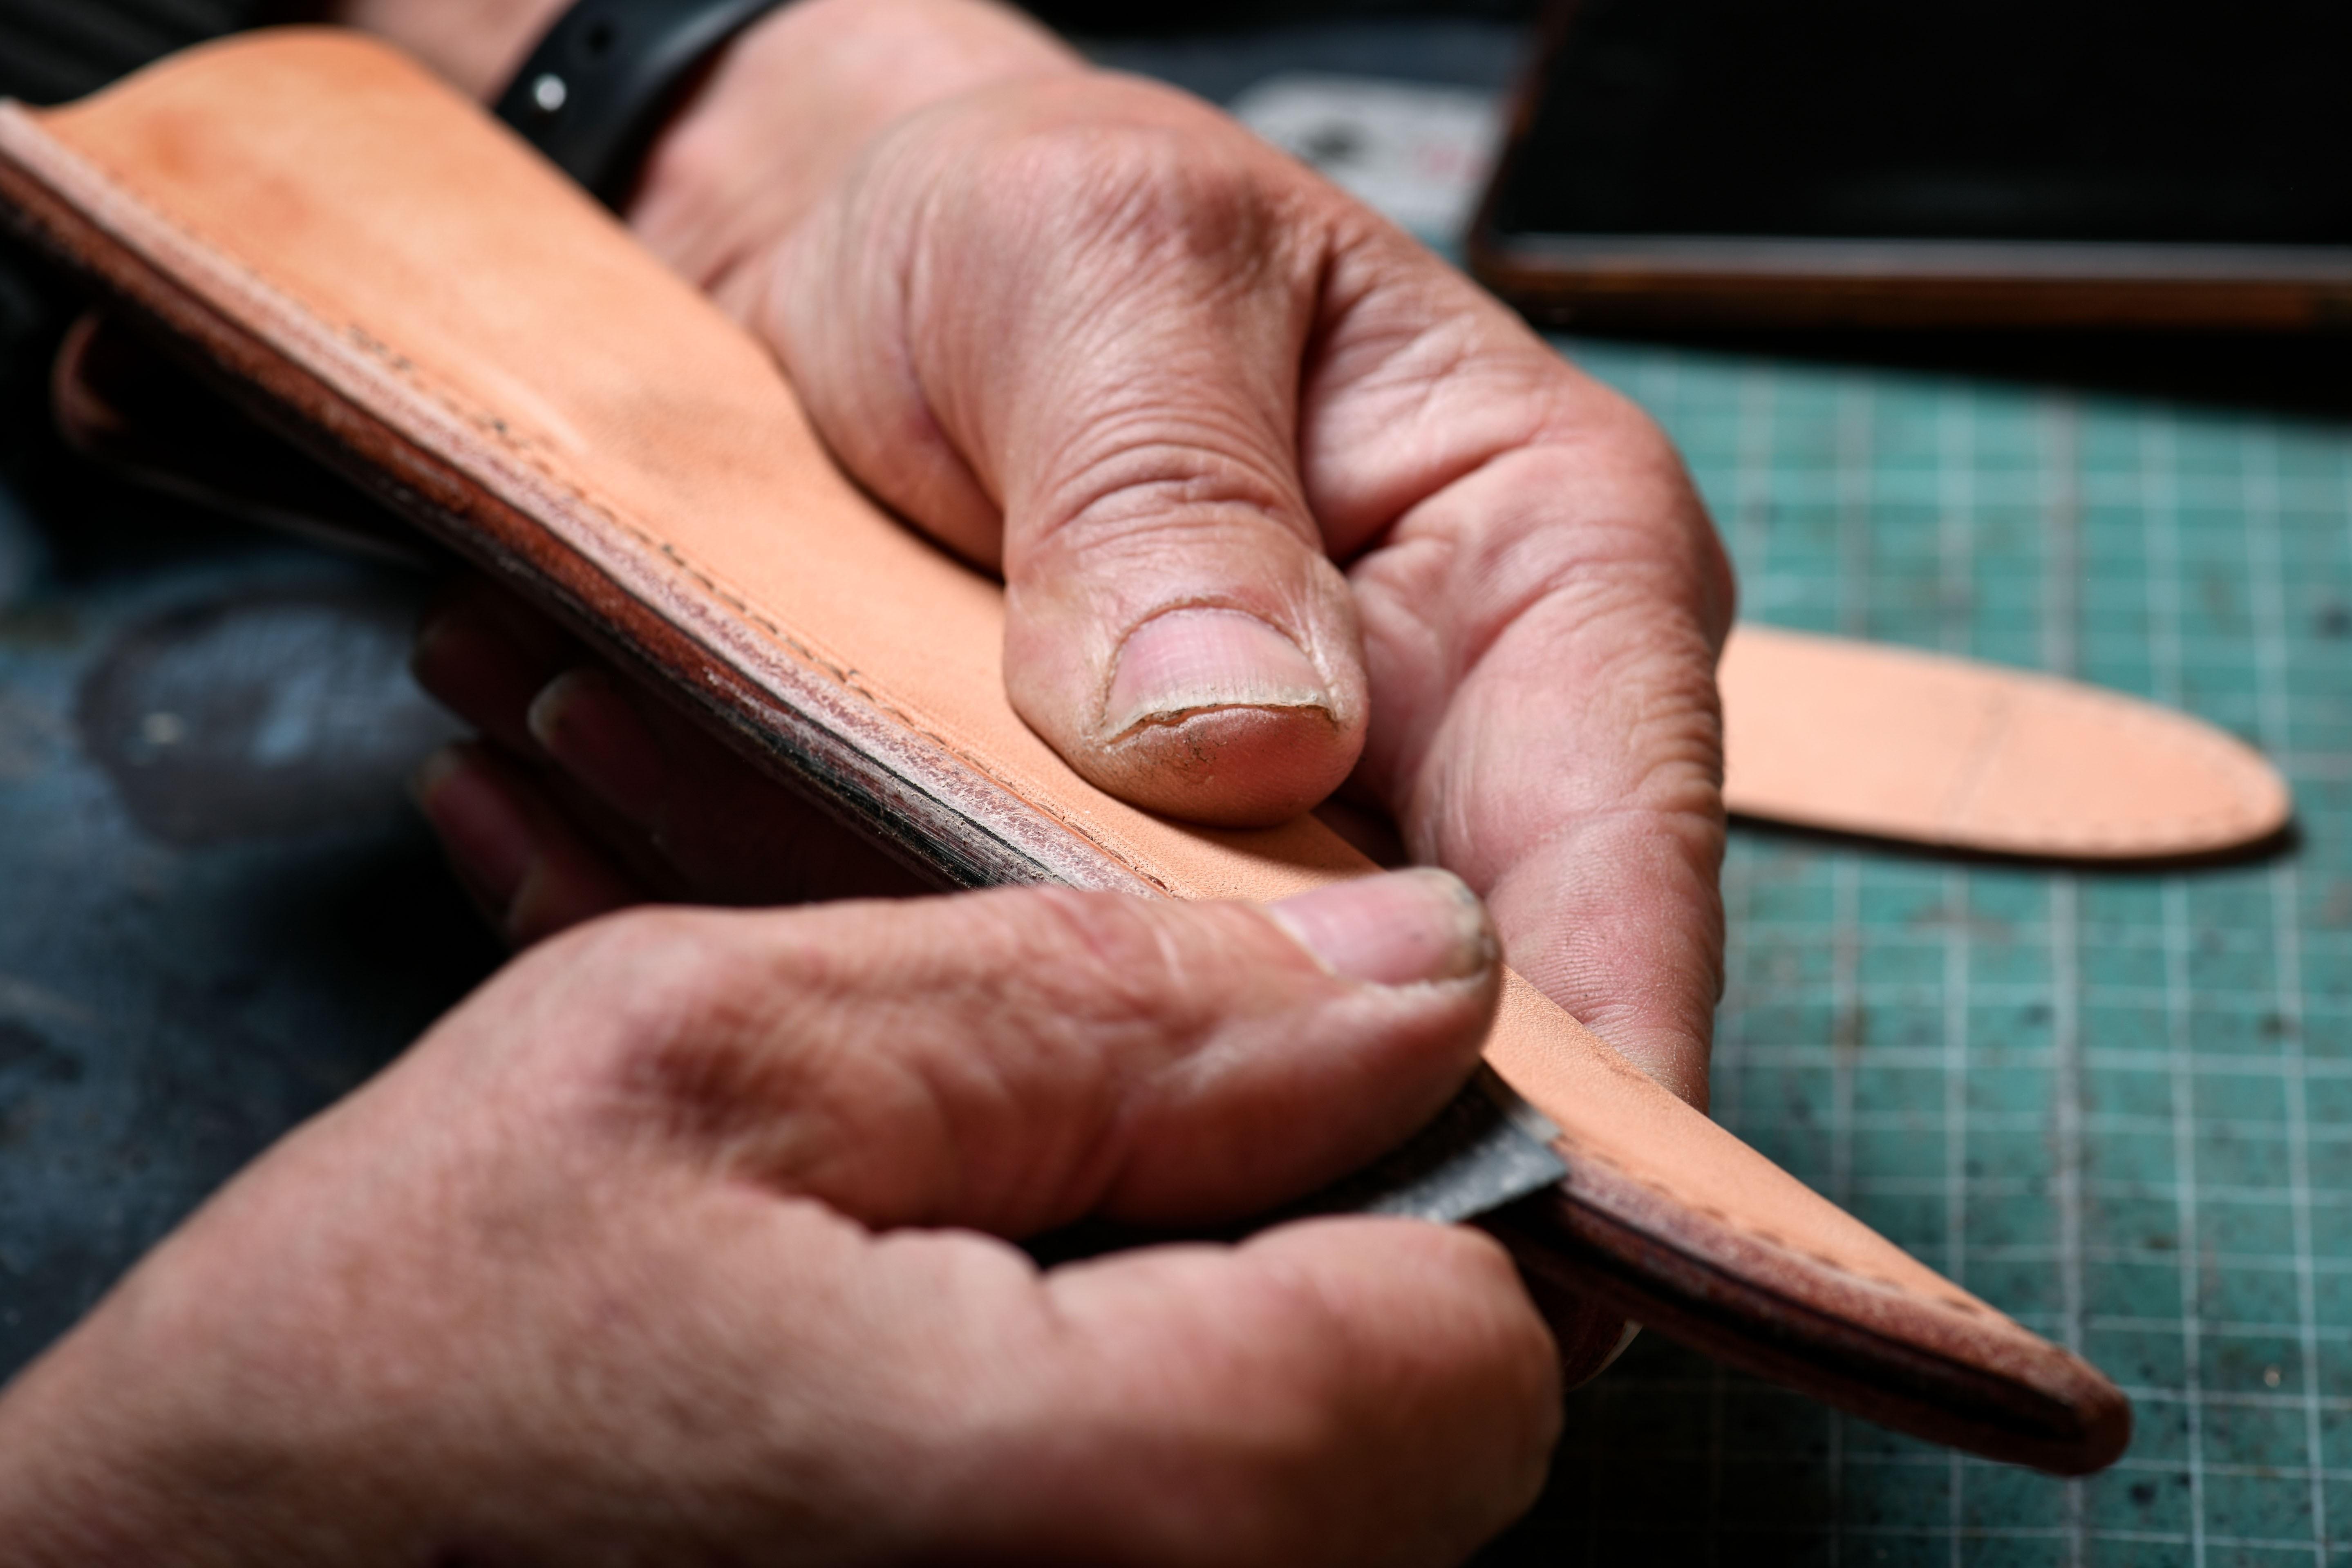
With sandpaper (ideally a back stand, but you can do it by hand). Start with 80 grit, then 120 and finish with 400 grit. You'll even out the edge of your case at the martyr so that it's smooth and even.
Then you can tint your case with leather dye, brushing the dye inside and out (we opted for black). Leave to stand for an hour. We also offer pre-dyed leathers.
To give the fields a smoothed, burnt effect, gently apply gum arabic (without going over the top). The aim is to waterproof the leather fields and extend their life.
Finally, as with your leather shoes, apply shoe polish with a cloth.
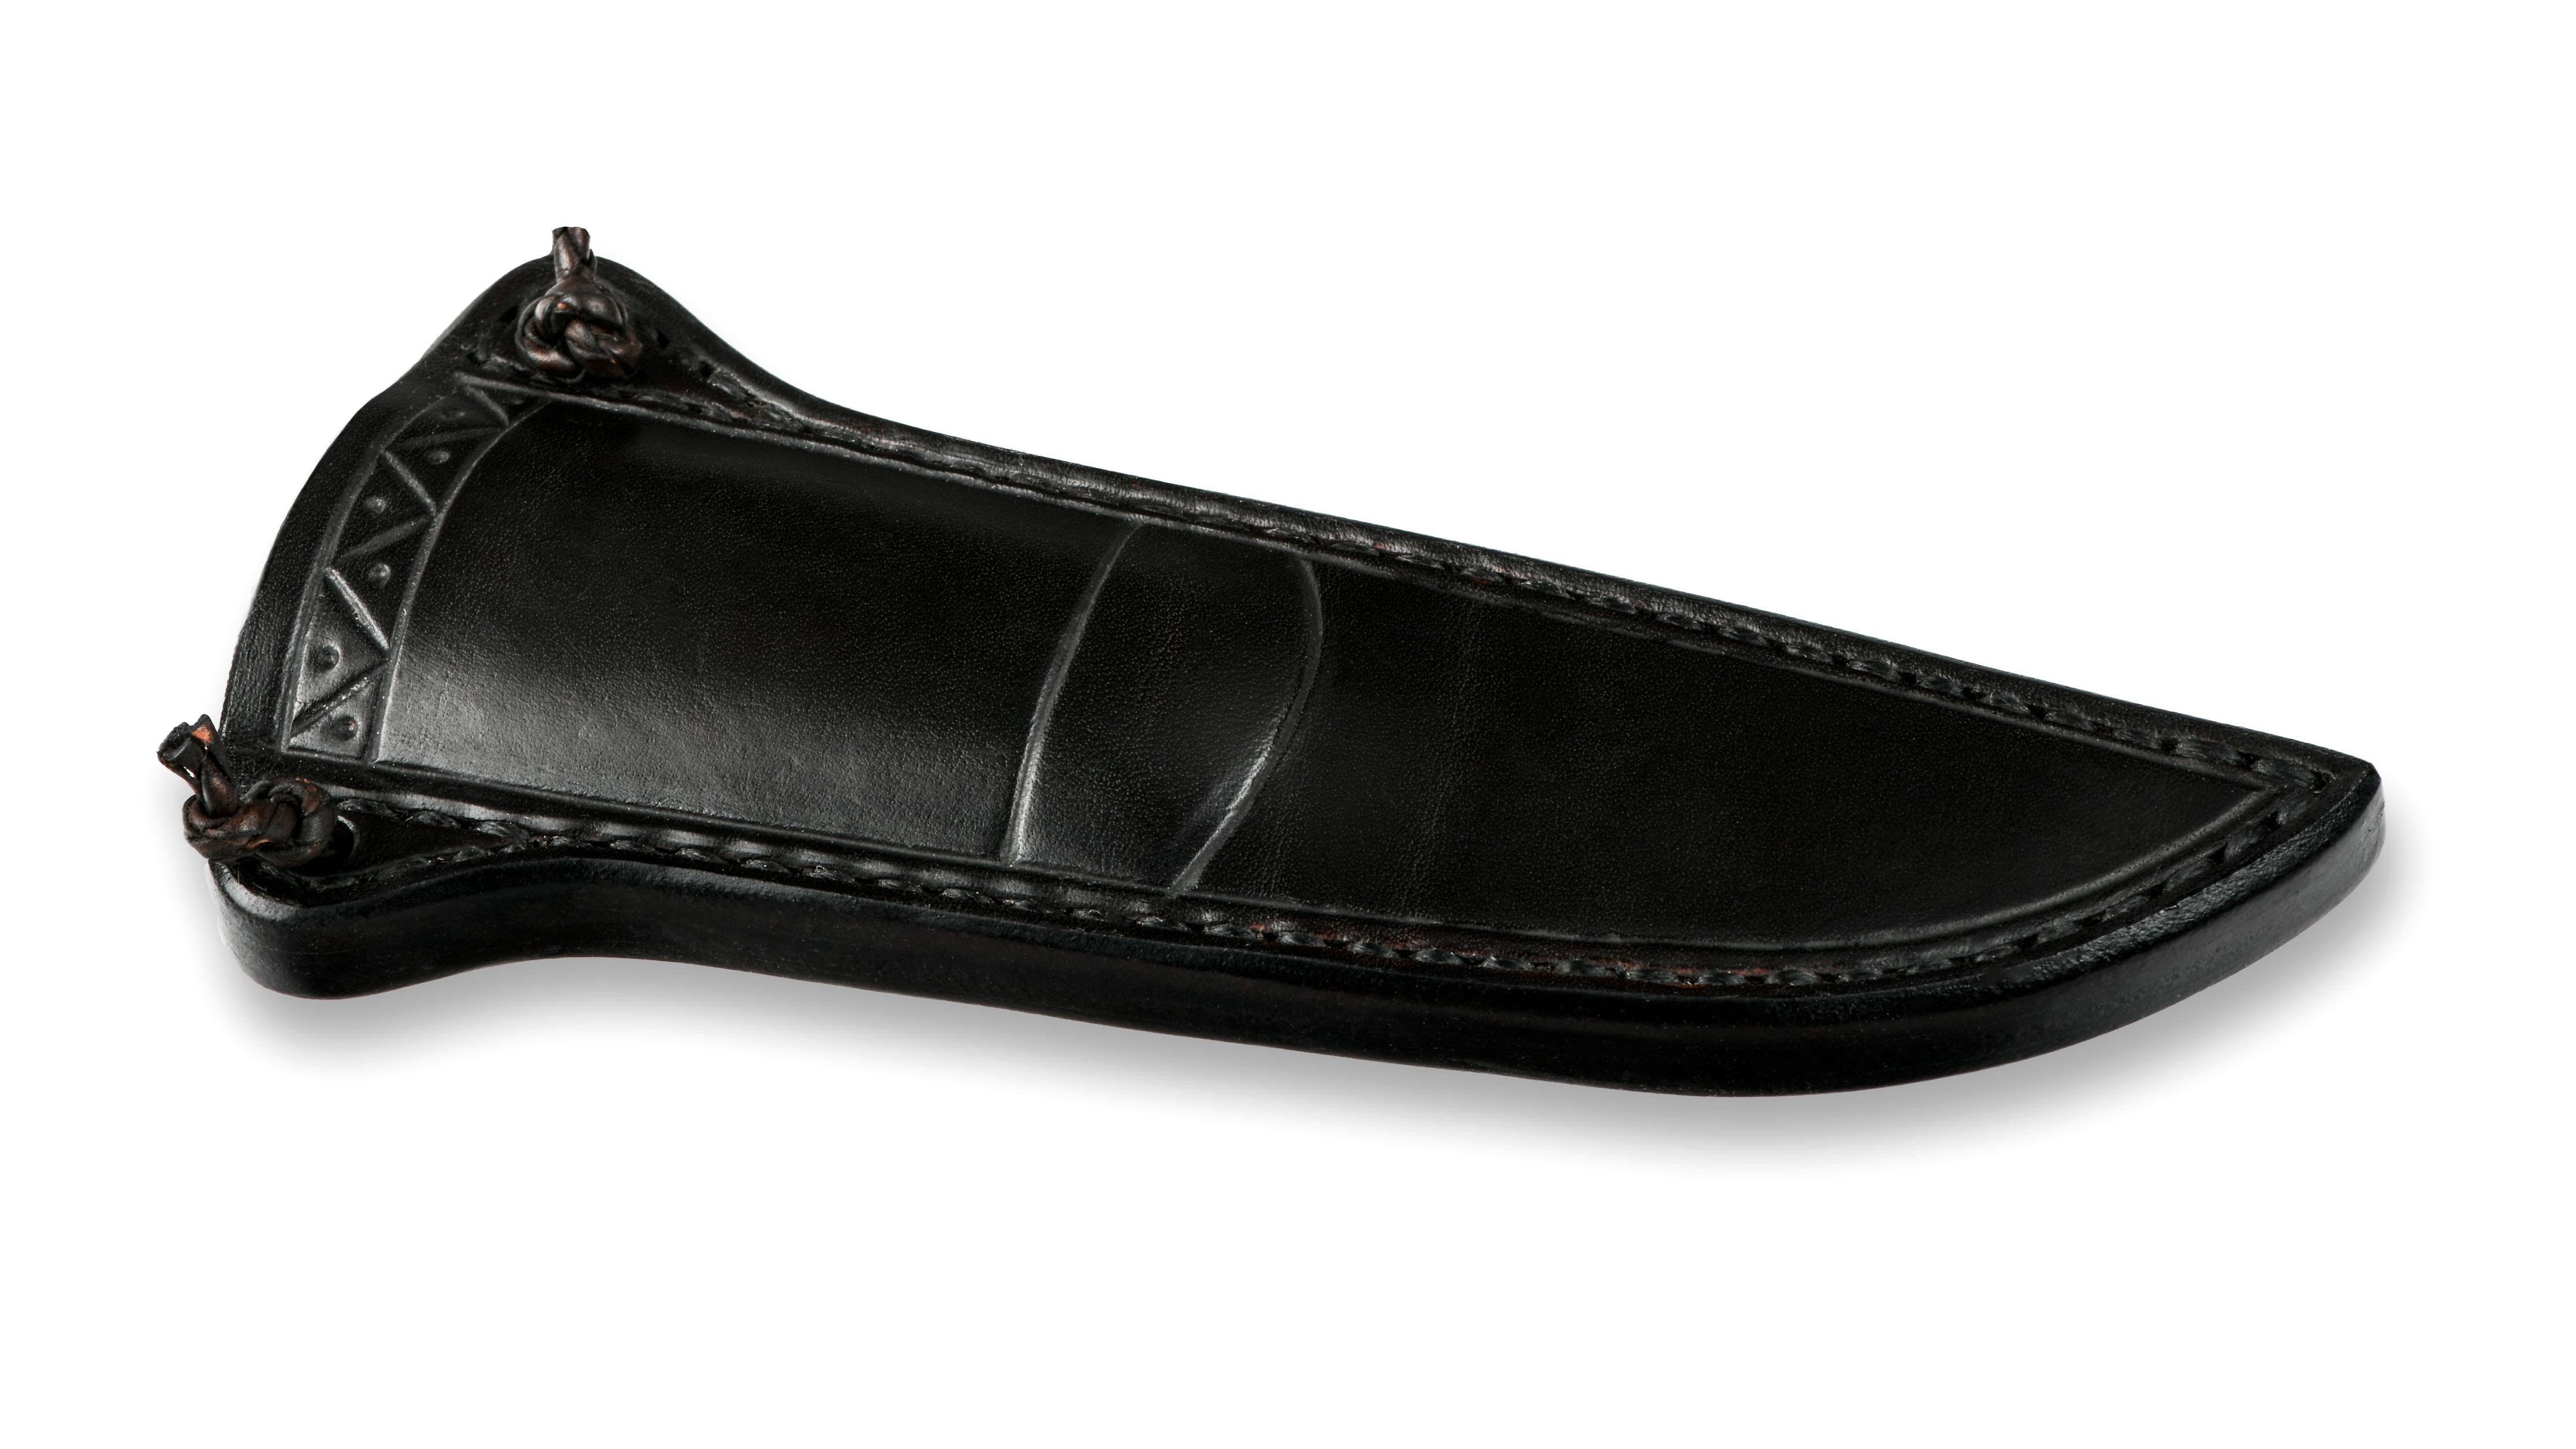
Congratulations on your new leather case!
Discover our leather range by clicking here!
Many thanks again to Benoit Maguin and Philippe Chabanon. Visit Benoit's website and come to lames à table and visit the Maison Berthier website.
Have a nice day !
Comments
No comment at this time!
Leave your comment